The Ultimate Rust FPS & Graphic Settings Guide (Engine Optimization)
When the frame rate drops to 10 and enemies teleport across the monument, it is not gameplay—it is torture. Rust has evolved significantly since its early browser-based days, but the Unity engine still struggles with memory leaks and rendering bottlenecks. Many players mistakenly believe that upgrading a graphics card solves everything. Honestly, our team spent hours figuring this out across multiple wipes, and hardware is only half the battle. If the engine is misconfigured, even an expensive gaming PC will choke during intense gunfights. Welcome to the definitive optimization guide. As a trusted marketplace for competitive tools at cheat.bz, we analyze game engines down to the core to give players a tangible advantage. We do not just guess which sliders to pull; we reverse-engineer the rendering pipeline. In our latest patch tests, we noticed that fixing the frame pacing requires strict commands, not just lowering the resolution. Here is the exact breakdown of how to force the game to run flawlessly, providing the best rust graphics settings for FPS and absolute visibility.
Table of Contents
- The Best Rust Graphic Settings for Maximum FPS Boost
- Why Does Rust Stutter on High-End Gaming PCs?
- How to Fix Garbage Collection (GC) Stutters?
- What Are the Best Graphics Settings for PvP Visibility?
- Should You Enable Occlusion Culling?
- Which Steam Launch Options Actually Work?
- Rust Settings Guide & Troubleshooting FAQ
- Optimize Your Gameplay
The Best Rust Graphic Settings for Maximum FPS Boost
To maximize FPS and eliminate stuttering in Rust, alleviate the CPU bottleneck by actively managing the Unity Garbage Collector. Open the F1 console and set gc.buffer 4096, limit Draw Distance to 1500, and set Max Gibs to 0. Use Exclusive Fullscreen mode to reduce input latency and bypass the Windows Desktop Window Manager. Follow these strict parameters to shift the load correctly:
- Graphics Quality: 2-4 (Shifts rendering load from CPU to GPU, preventing draw call limits).
- Shadow Quality: 0 (Removes dynamic PvP visual clutter and saves frame time).
- Max Gibs: 0 (Stops massive physics calculations during base raids).
- Mesh Quality: 100 (Reduces polygon rendering at extreme distances without ruining models).
Why Does Rust Stutter on High-End Gaming PCs?
Rust micro-stutters are directly caused by the Unity Engine Garbage Collector. When the allocated RAM fills up with thousands of entity data points, the engine literally pauses rendering to dump the memory. This process causes a massive frametime spike. A powerful GPU cannot process frames if the engine halts memory allocation. Furthermore, at standard resolutions, Rust is fundamentally CPU-bound, relying heavily on single-thread performance and cache memory. Processors with massive L3 Cache, like the AMD Ryzen 7 7800X3D (96MB+), bypass slower system RAM to store entity coordinates locally on the die. This specific 3D V-Cache architecture boosts 1% low FPS significantly. If the CPU lacks sufficient cache, it creates a severe bottleneck where draw calls pile up, leaving the graphics card waiting for instructions. Lowering every single setting to zero actually makes this worse, as the engine shifts Level of Detail (LOD) calculations back to the already struggling processor.
| Bottleneck Cause | Technical Impact | Immediate Fix / Command |
|---|---|---|
| Memory Dump (Unity GC) | Frametime spikes during combat | gc.buffer 4096 |
| CPU Draw Call Limit | GPU utilization drops below 50% | Increase Graphics Quality to 3 |
| Thermal Throttling | Gradual frame rate degradation | Optimize PC cooling / Cap FPS |
How to Fix Garbage Collection (GC) Stutters?
By opening the F1 console and entering gc.buffer 4096, force the engine to utilize up to 4GB of RAM before initiating a memory dump. This effectively eliminates mid-combat freezing and ensures smoother performance. Additionally, bind a key to manually clear memory during safe moments. Type bind k gc.collect in the console. Press this key while running out of a base or hiding behind cover. Manual dumps prevent the auto-allocator from triggering during a crucial PvP spray, providing the ultimate performance stability.
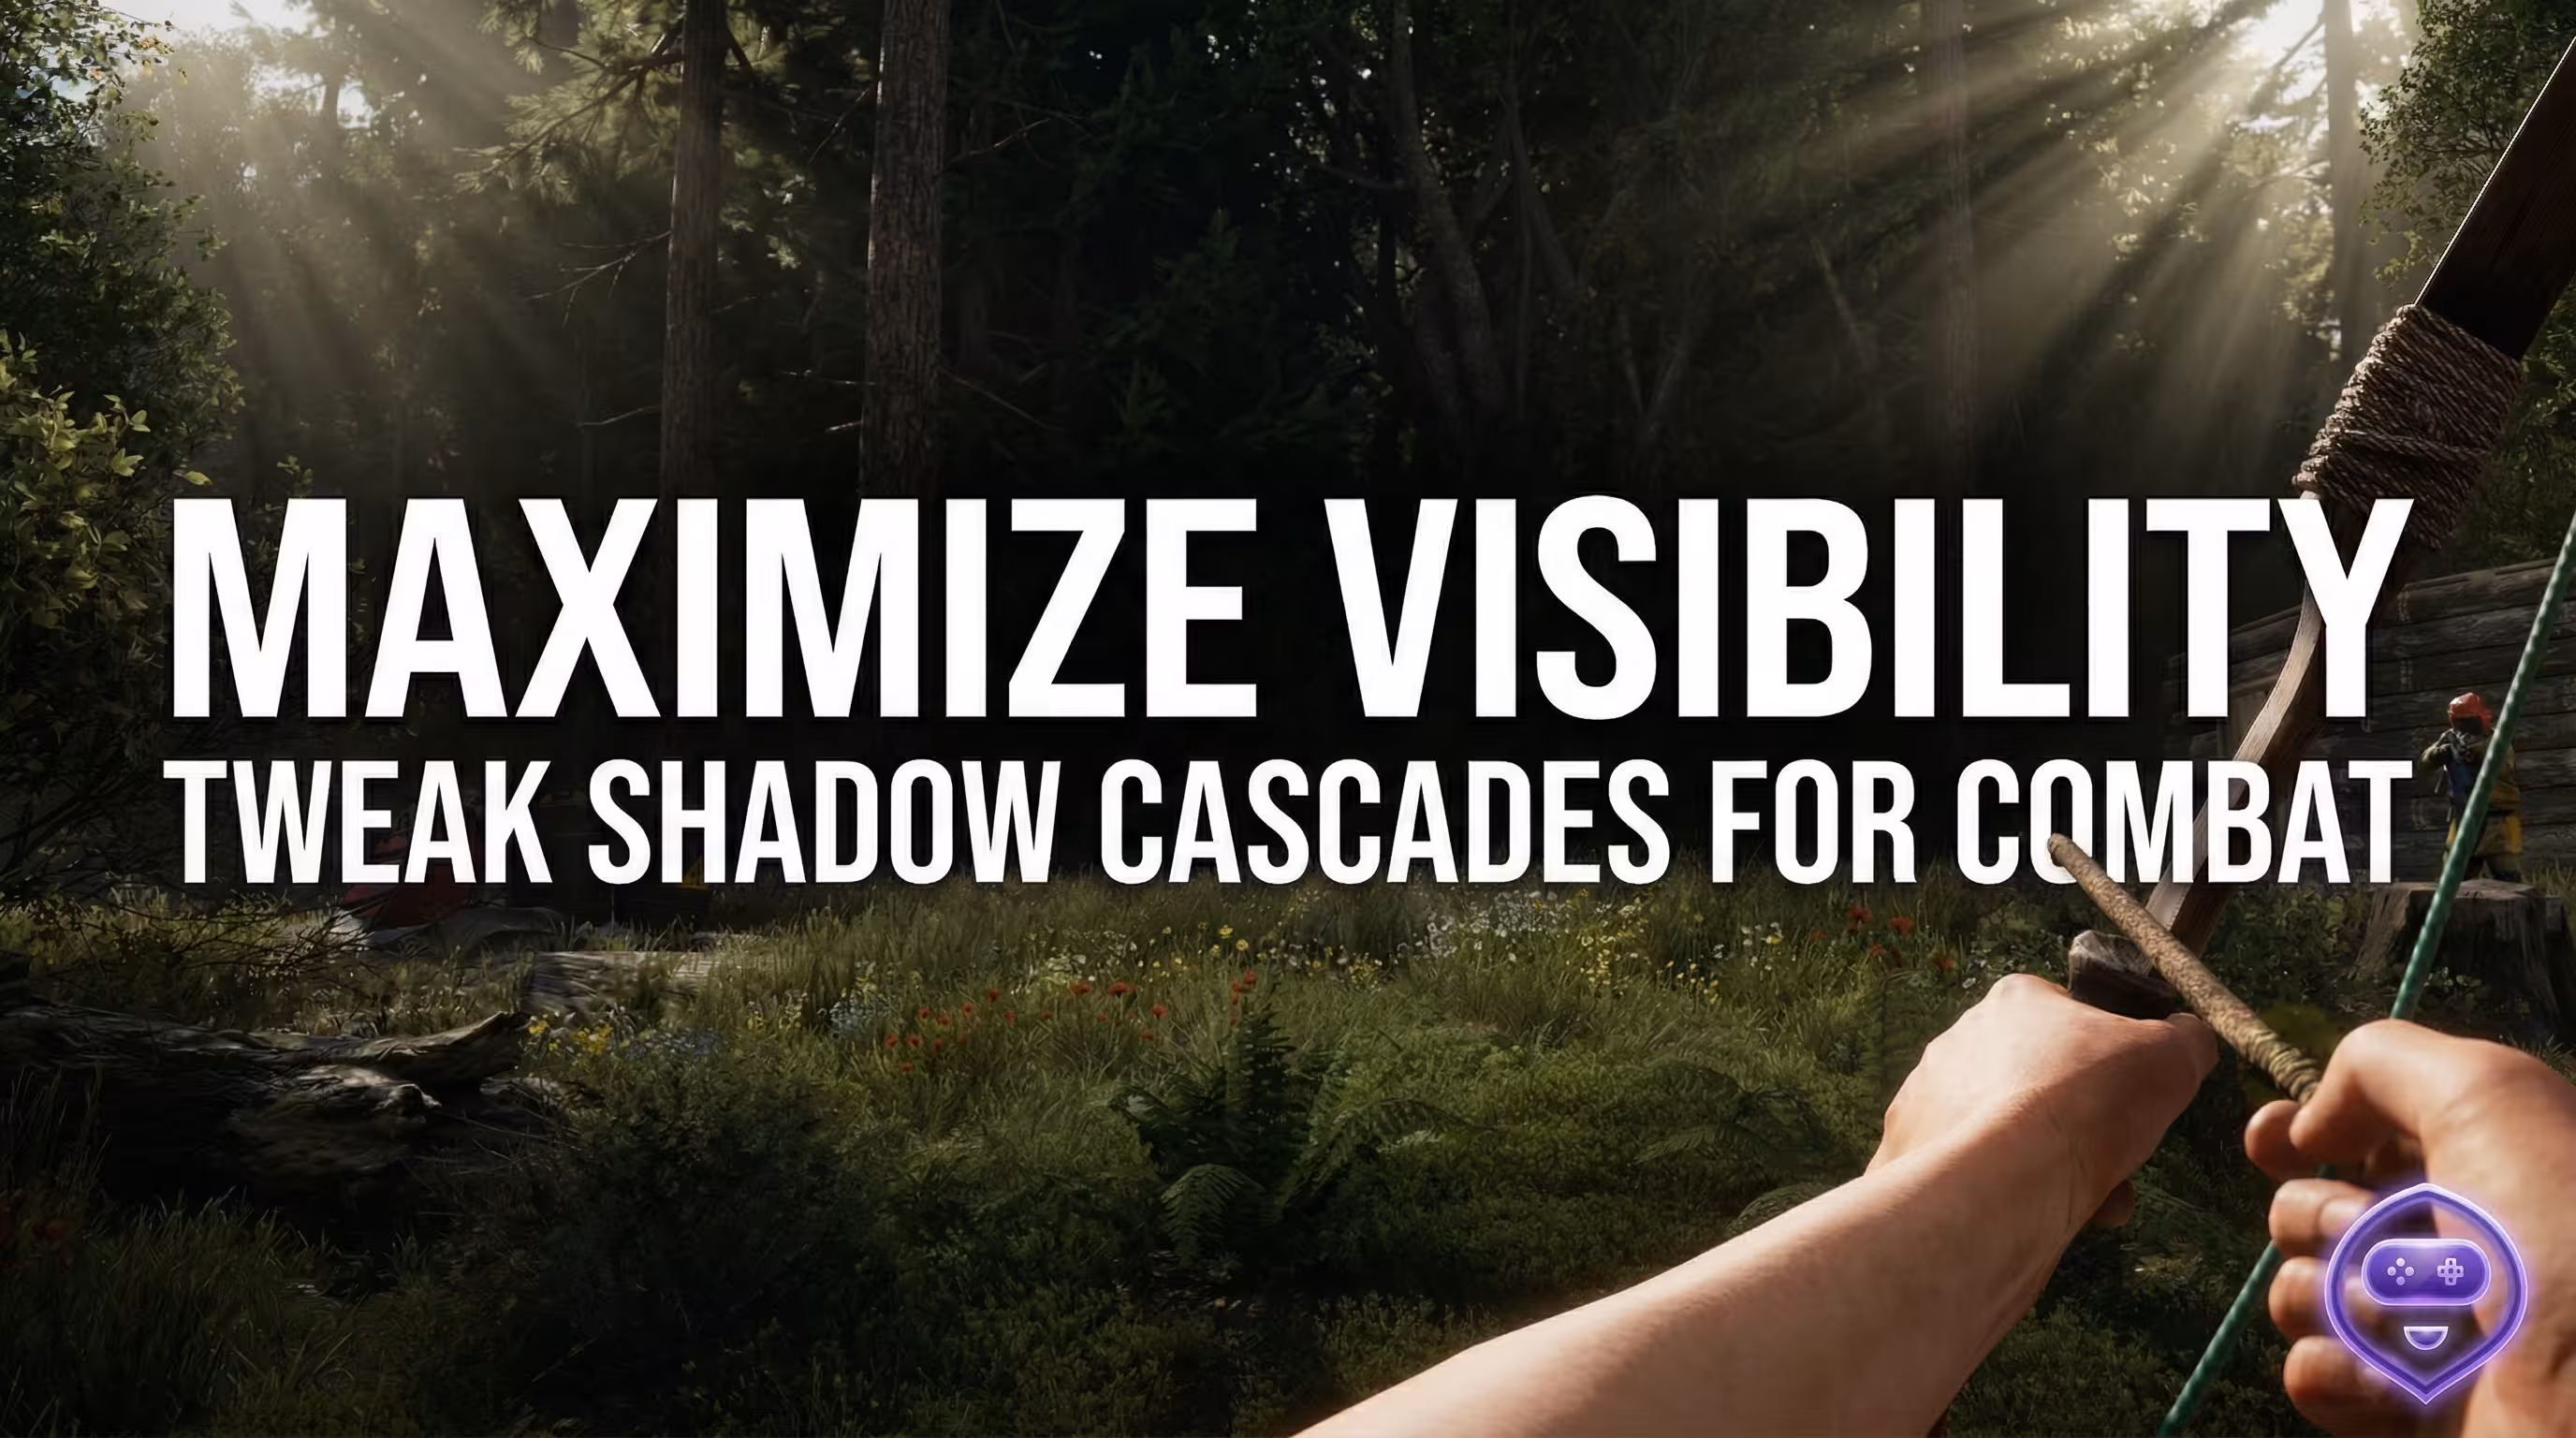
What Are the Best Graphics Settings for PvP Visibility?
In hardcore survival games, visibility dictates survival. Setting all sliders to zero is a rookie mistake. For optimal performance and visual clarity, configure Shadow Cascades to 0 and Object Quality to 150. This specific combination stops the engine from rendering unnecessary high-polygon meshes and dynamic shadows, allowing player models to stand out against low-clutter backgrounds. This is the foundation of good rust graphic settings. Keep Grass Displacement enabled (True). Grass Displacement physically moves foliage meshes when players walk through them, which aids in tracking sweaty tryhards during intense forest fights. Disable all post-processing image effects immediately. Turn off Motion Blur and Depth of Field; these filters add artificial latency and blur the screen during fast mouse flicks. For anti-aliasing, TSSAA (Temporal Anti-Aliasing) reduces jagged edges but applies temporal algorithms that can cause slight ghosting. For pure pixel-perfect aiming, disable anti-aliasing entirely, though TSSAA remains a solid choice for maintaining visual fidelity.
| Setting | Low-End PC | Competitive PvP | High Graphics (Cinematic) |
|---|---|---|---|
| Shadow Cascades | 0 | 0 | 2 |
| Object Quality | 50 | 150 | 200 |
| Draw Distance | 1000 | 1500 | 2500 |
| Anti-Aliasing | Off | Off / TSSAA | TSSAA |
| Water Reflections | 0 | 0 | 2 |
Should You Enable Occlusion Culling?
Occlusion Culling prevents the engine from drawing objects hidden behind walls, technically preventing overdraw. However, this transfers the calculation load from the GPU directly to the CPU thread. If running an older CPU but a decent graphics card, turn Occlusion Culling OFF to relieve processor strain. If utilizing a high-end CPU, leave it ON to maintain maximum frame rate inside dense, player-built monuments.
Which Steam Launch Options Actually Work?
Outdated launch options ruin game stability. Commands like -cpuCount or -high often cause more stuttering on modern Windows architectures. Instead, focus on overriding the default Unity memory allocator and bypassing the Desktop Window Manager (DWM). For players using internal tools, DMA hardware, or our specialized Rust cheats to dominate servers, keeping the game environment perfectly stable is critical to avoid crashes. If you experience injection issues or need help configuring advanced solutions, check our support and contact section for technical guidance. Apply these exact parameters in Steam:
- Right-click the game in your Steam Library and select Properties.
- Locate the Launch Options text field.
- Enter exactly: -window-mode exclusive -malloc=system -effects.maxgibs -1.
Exclusive mode lowers input latency by forcing the OS to grant the game direct control over the display, bypassing the render queue. The system allocator command (-malloc=system) replaces the default Unity memory handler, stabilizing memory leaks over long sessions. Finally, navigate to the in-game options and set NVIDIA Reflex to "On + Boost" to keep GPU clocks high and reduce system latency further.
Rust Settings Guide & Troubleshooting FAQ
Why does Rust stutter and freeze randomly, even with an RTX card?
Micro-stutters stem from the Unity Engine Garbage Collector. When allocated RAM fills up with entity data, the engine pauses rendering to dump the memory, causing a frametime spike. Set gc.buffer 4096 in the console to increase the limit and delay these dumps.
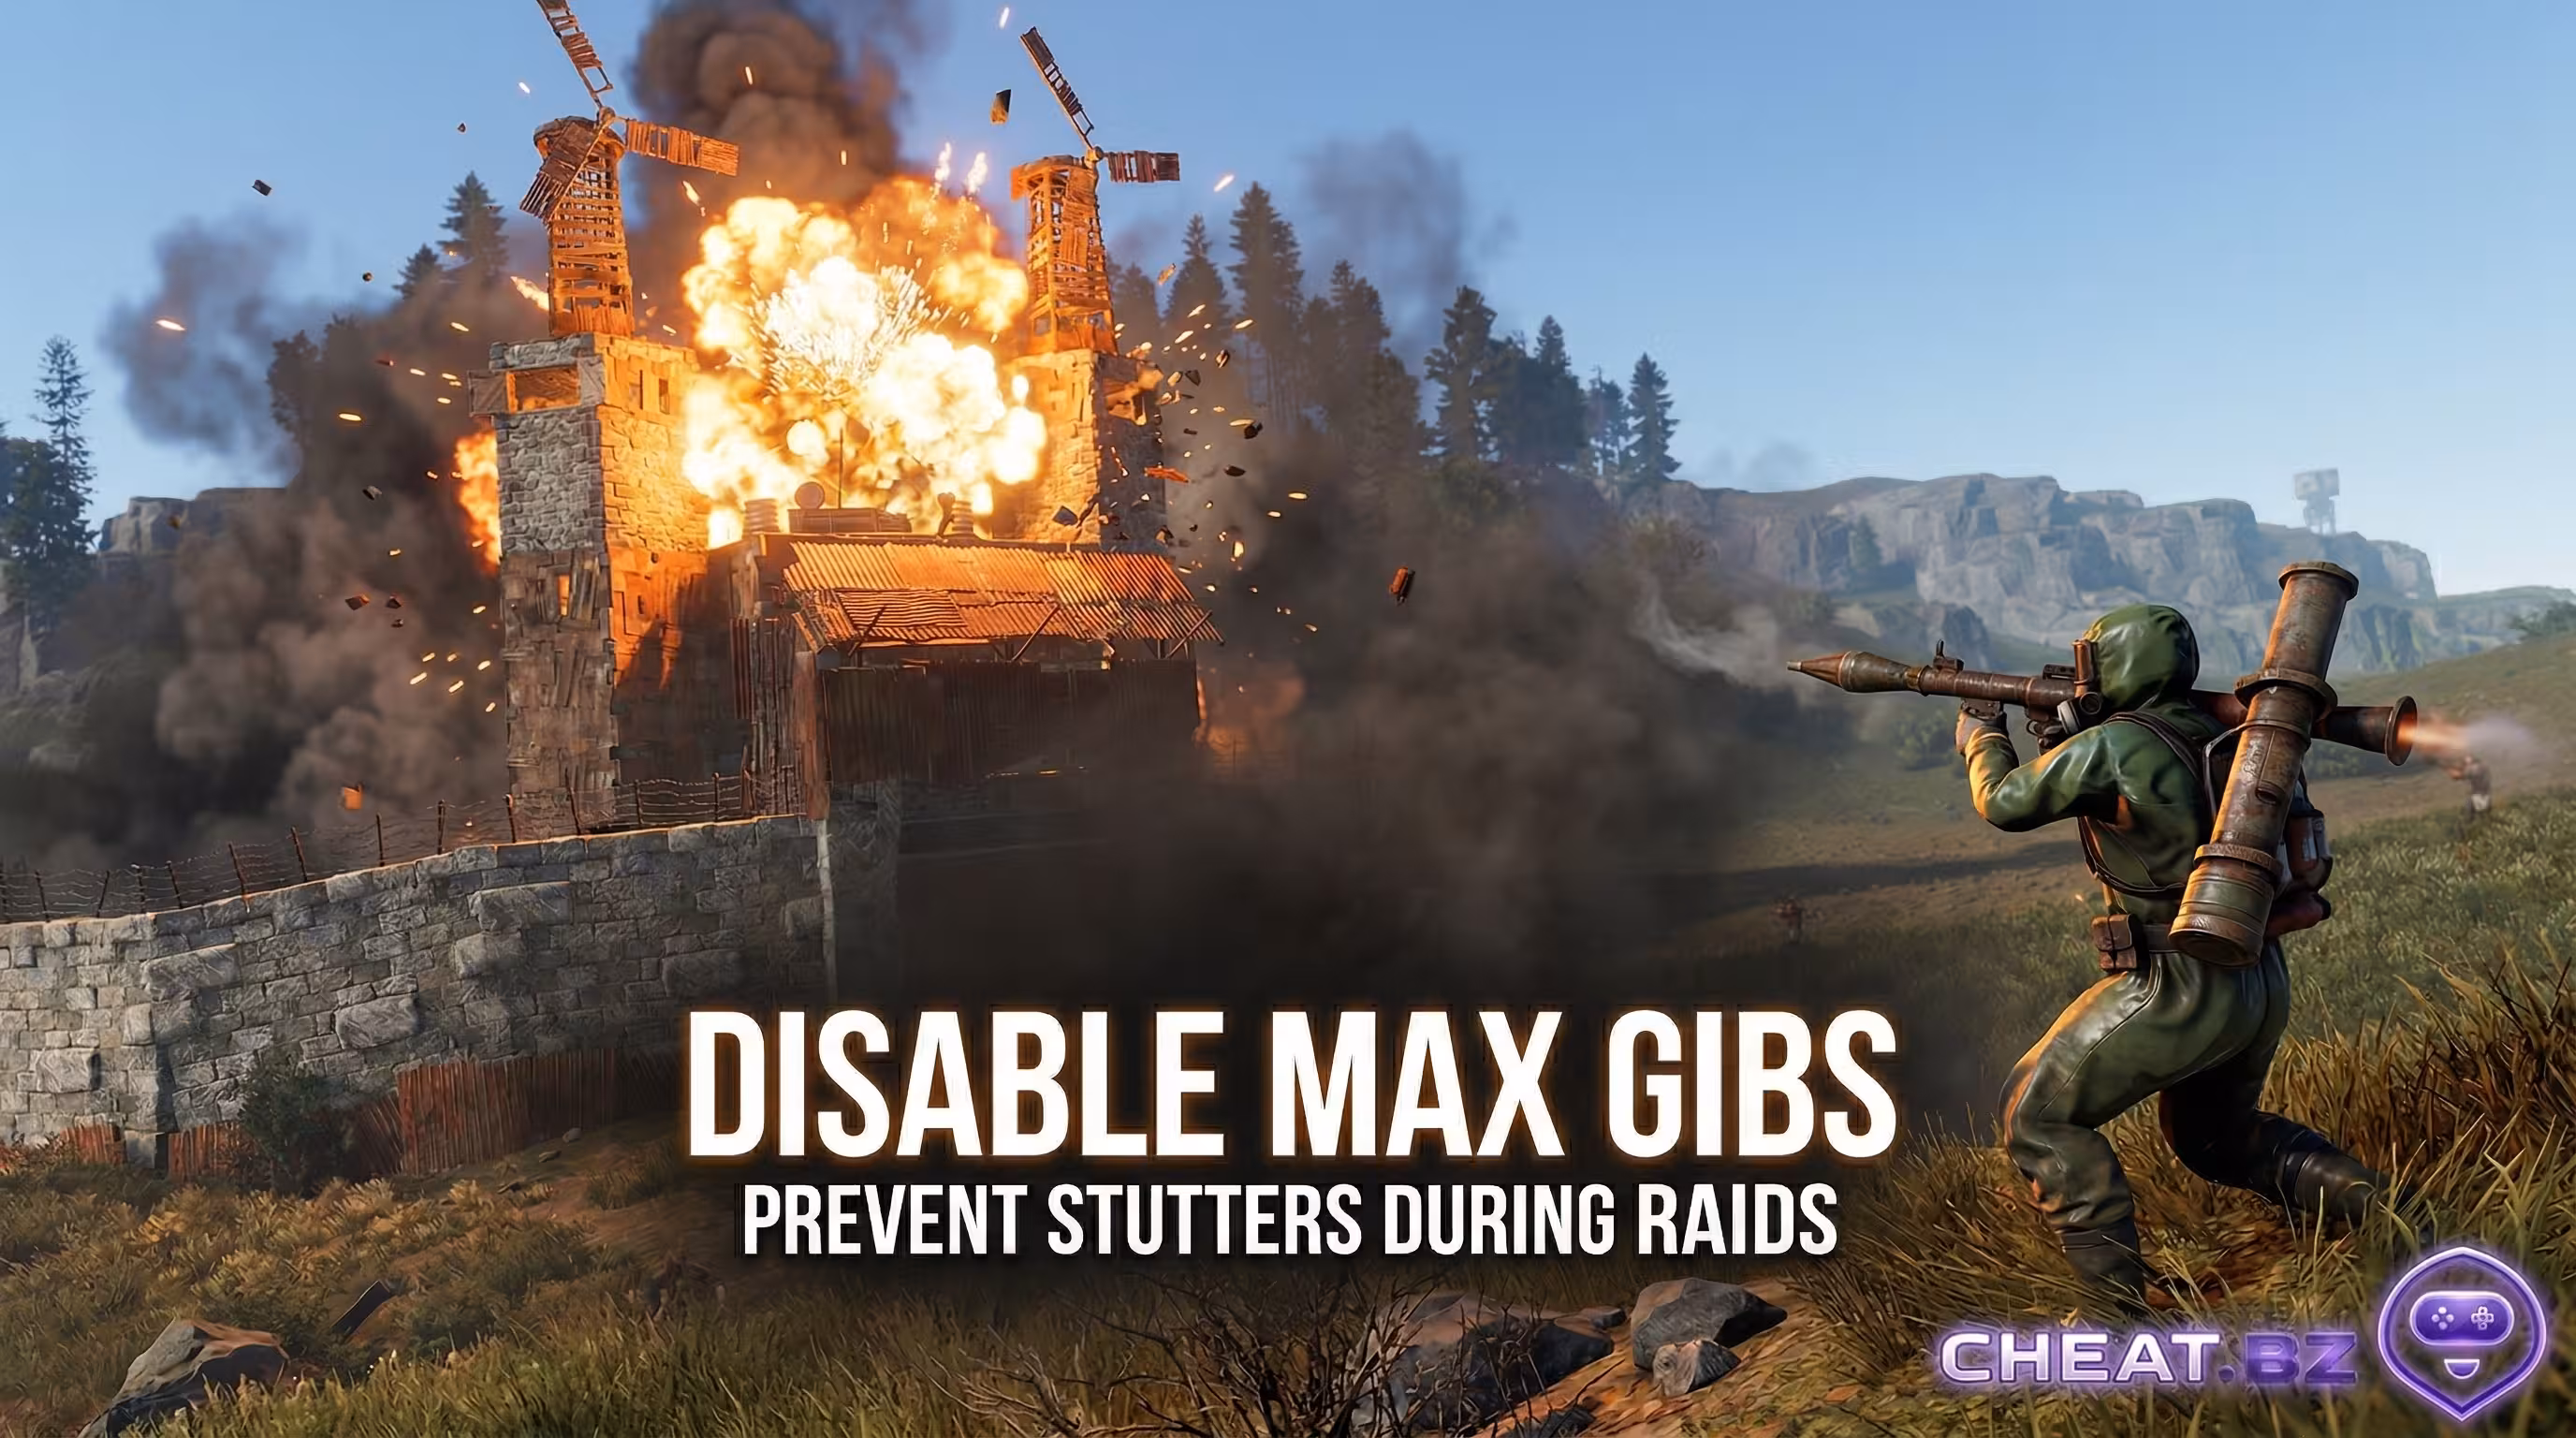
Which in-game setting generates the highest CPU load during base raids?
Max Gibs generates extreme CPU load. When explosives destroy building blocks, the engine calculates physics for every falling debris particle. Set effects.maxgibs -1 to remove these calculations and drastically improve fps drops during explosions.
Does setting all graphics to "0" or "Low" guarantee the highest FPS?
No. Setting Graphics Quality to 0 forces the CPU to handle Level of Detail transitions prematurely, worsening the CPU bottleneck. Keeping Graphics Quality at 2-3 shifts the rendering load back to the GPU, providing a much smoother performance.
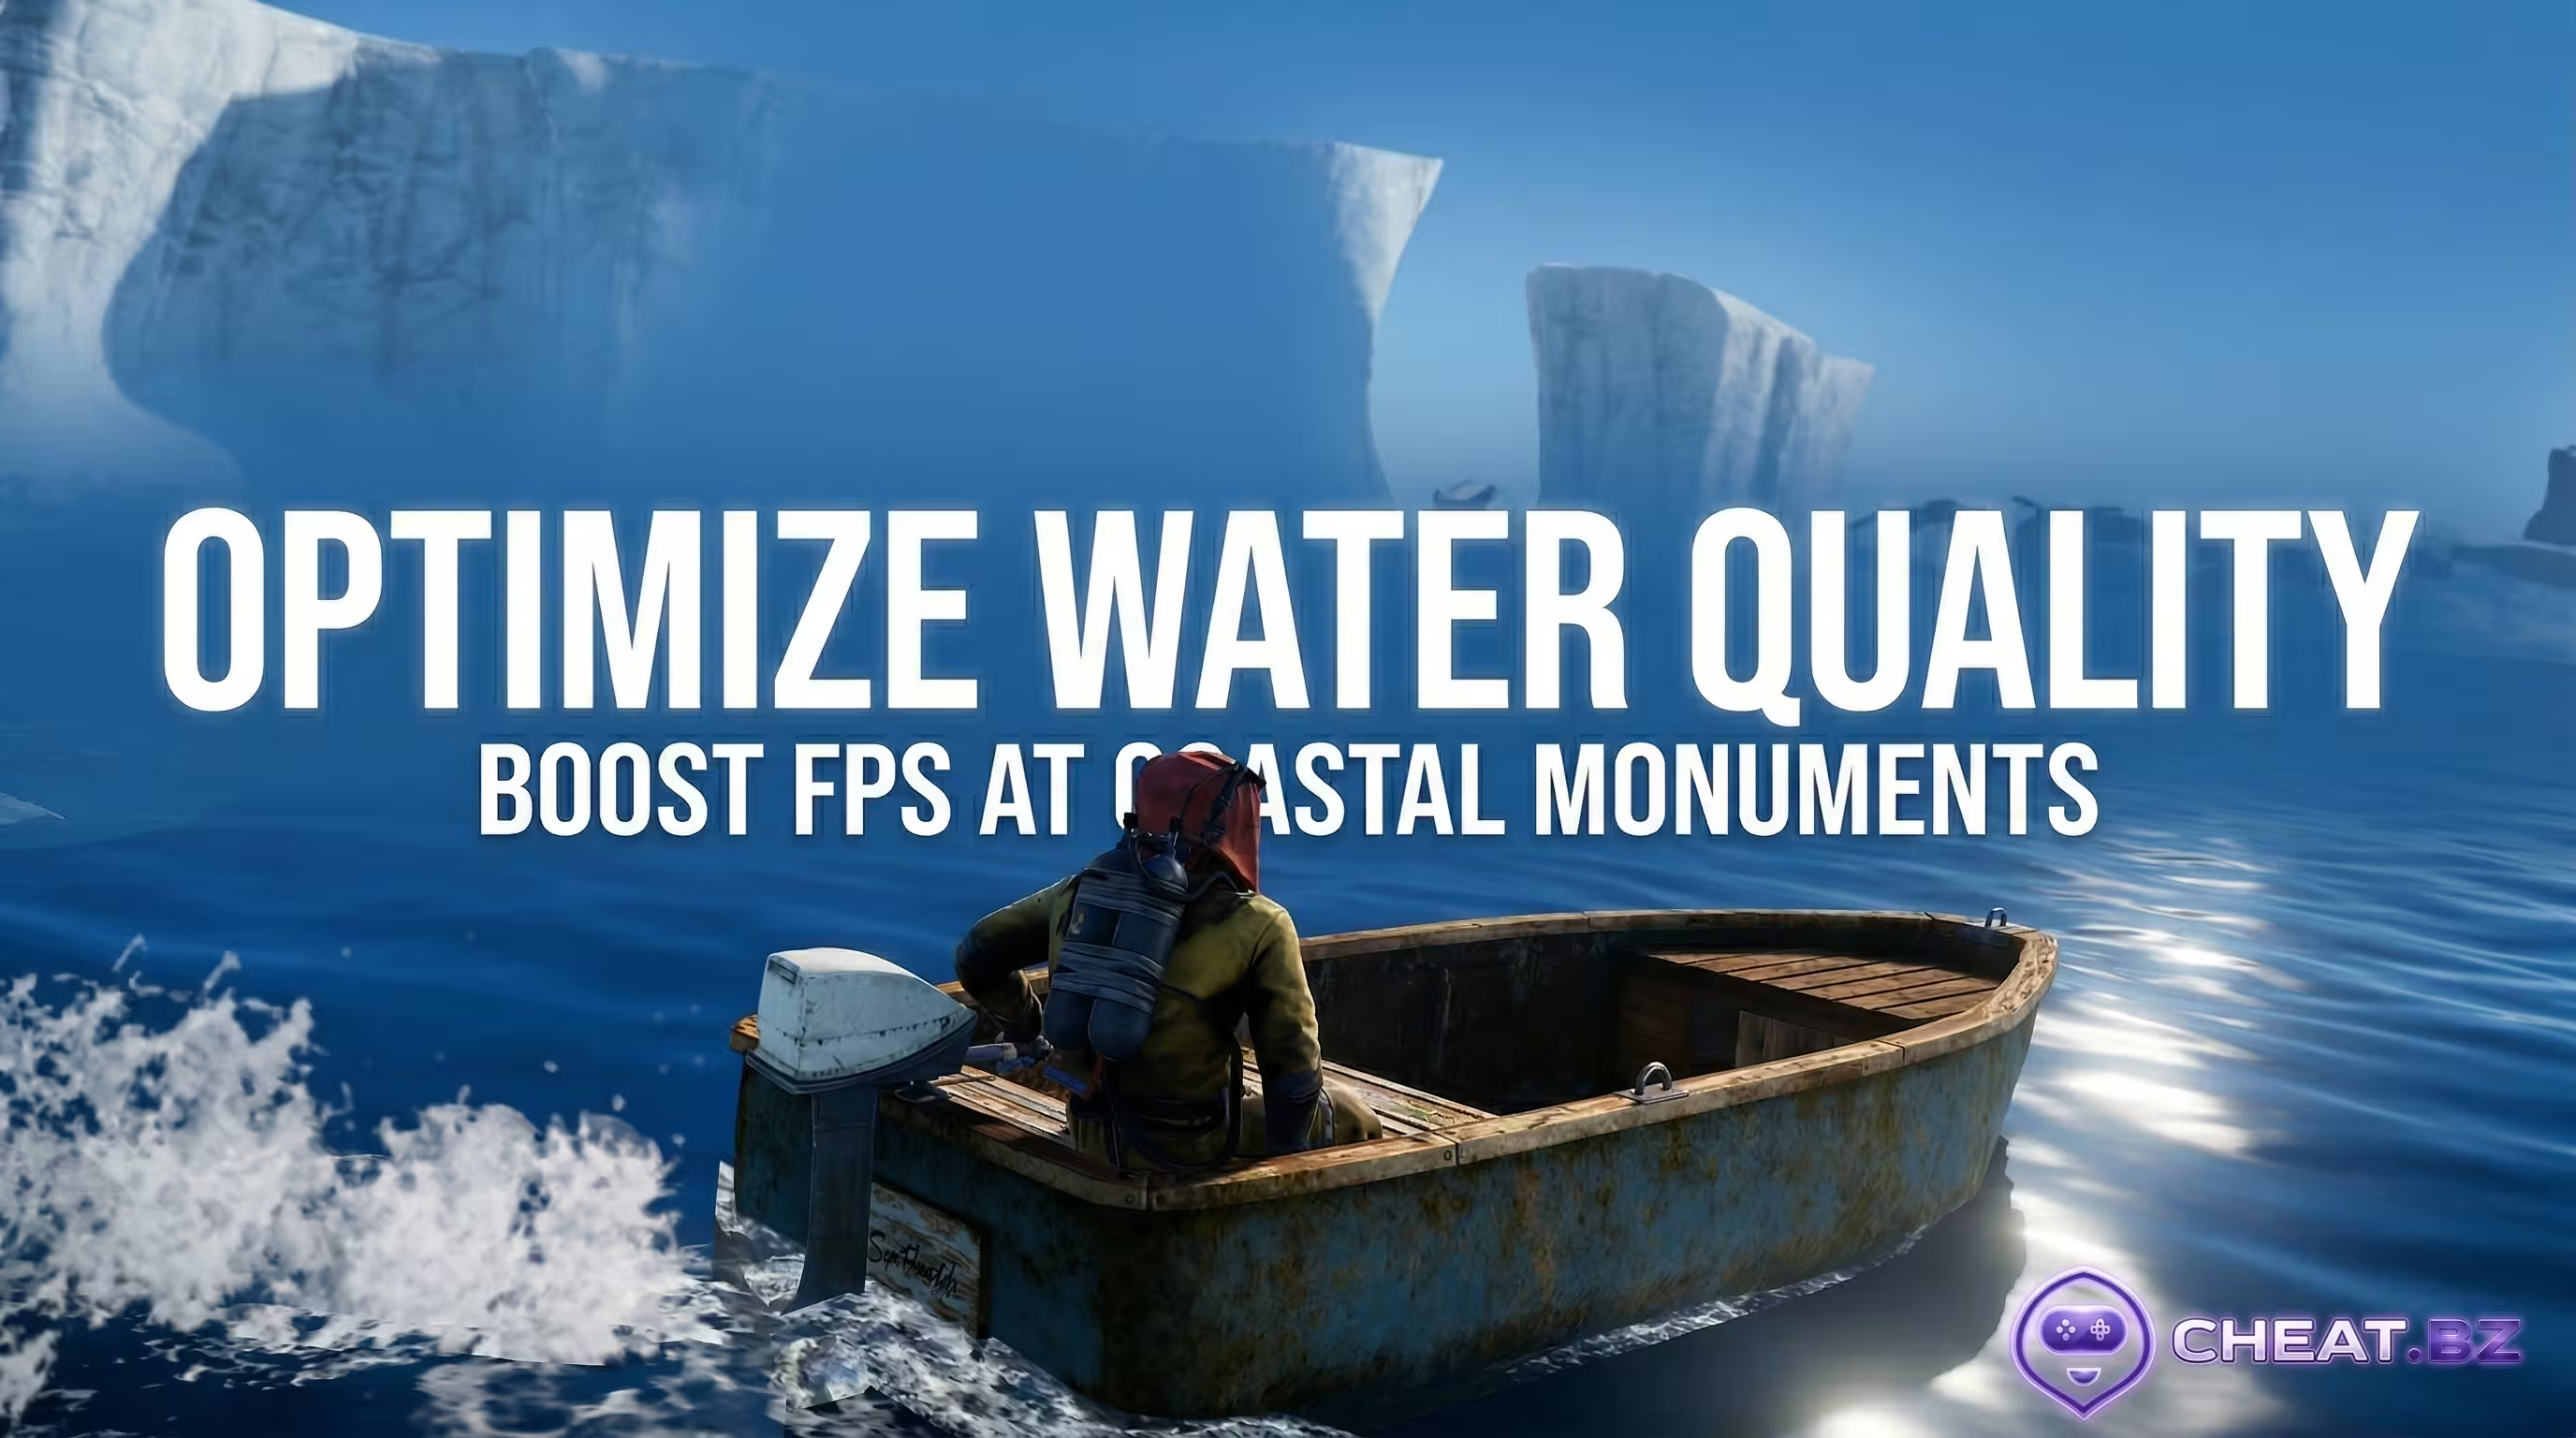
What impact do Water Quality and Anisotropic Filtering have?
Water Quality forces raycast calculations that bottleneck the GPU, especially around coastal monuments or Oil Rig. Keep it low for competitive play. Anisotropic Filtering has minimal performance impact on modern hardware but significantly sharpens textures at oblique angles. Set it to 1x for optimal balance.
Optimize Your Gameplay
Implementing the right settings transforms the entire gameplay experience. While others suffer from random freezes during crucial spray downs or lose their full-gear loadouts due to system input lag, you maintain perfectly smooth gameplay and dominate the server. Tweaking the Unity engine gives you the ultimate competitive edge, bridging the gap between hardware limitations and true skill. Ready to take your gameplay to the next tier? Explore the full catalog of private tools and performance enhancements in our games section and find the perfect software setup for your playstyle. Boot up the game, secure the best wipe possible, and leave the sweaty tryhards in the dust.