

How to Enable Wallhack in CS2 via Console: Working Commands in 2026
Following Counter-Strike's transition to the Source 2 engine, familiar console commands changed drastically. Thousands of players launching practice servers to drill pre-fires, lineups, and wallbangs discovered that the classic CS:GO wallhack command no longer works. The rendering pipeline was rewritten from the ground up, and legacy model highlighting variables were either locked down or stripped from the game client entirely.
Even so, built-in model debugging in CS2 hasn't gone anywhere. Source 2 still allows you to highlight player skeletons, bounding boxes, and hitboxes through any wall or dense Volumetric Smoke. The expert team at the cheat.bz game cheat store tested the latest server and client cvars on the newest Valve build. Below are the working commands, keybinds, and bug fixes to set up built-in Wallhack properly without third-party software or any risk of a ban.

Summary at a Glance
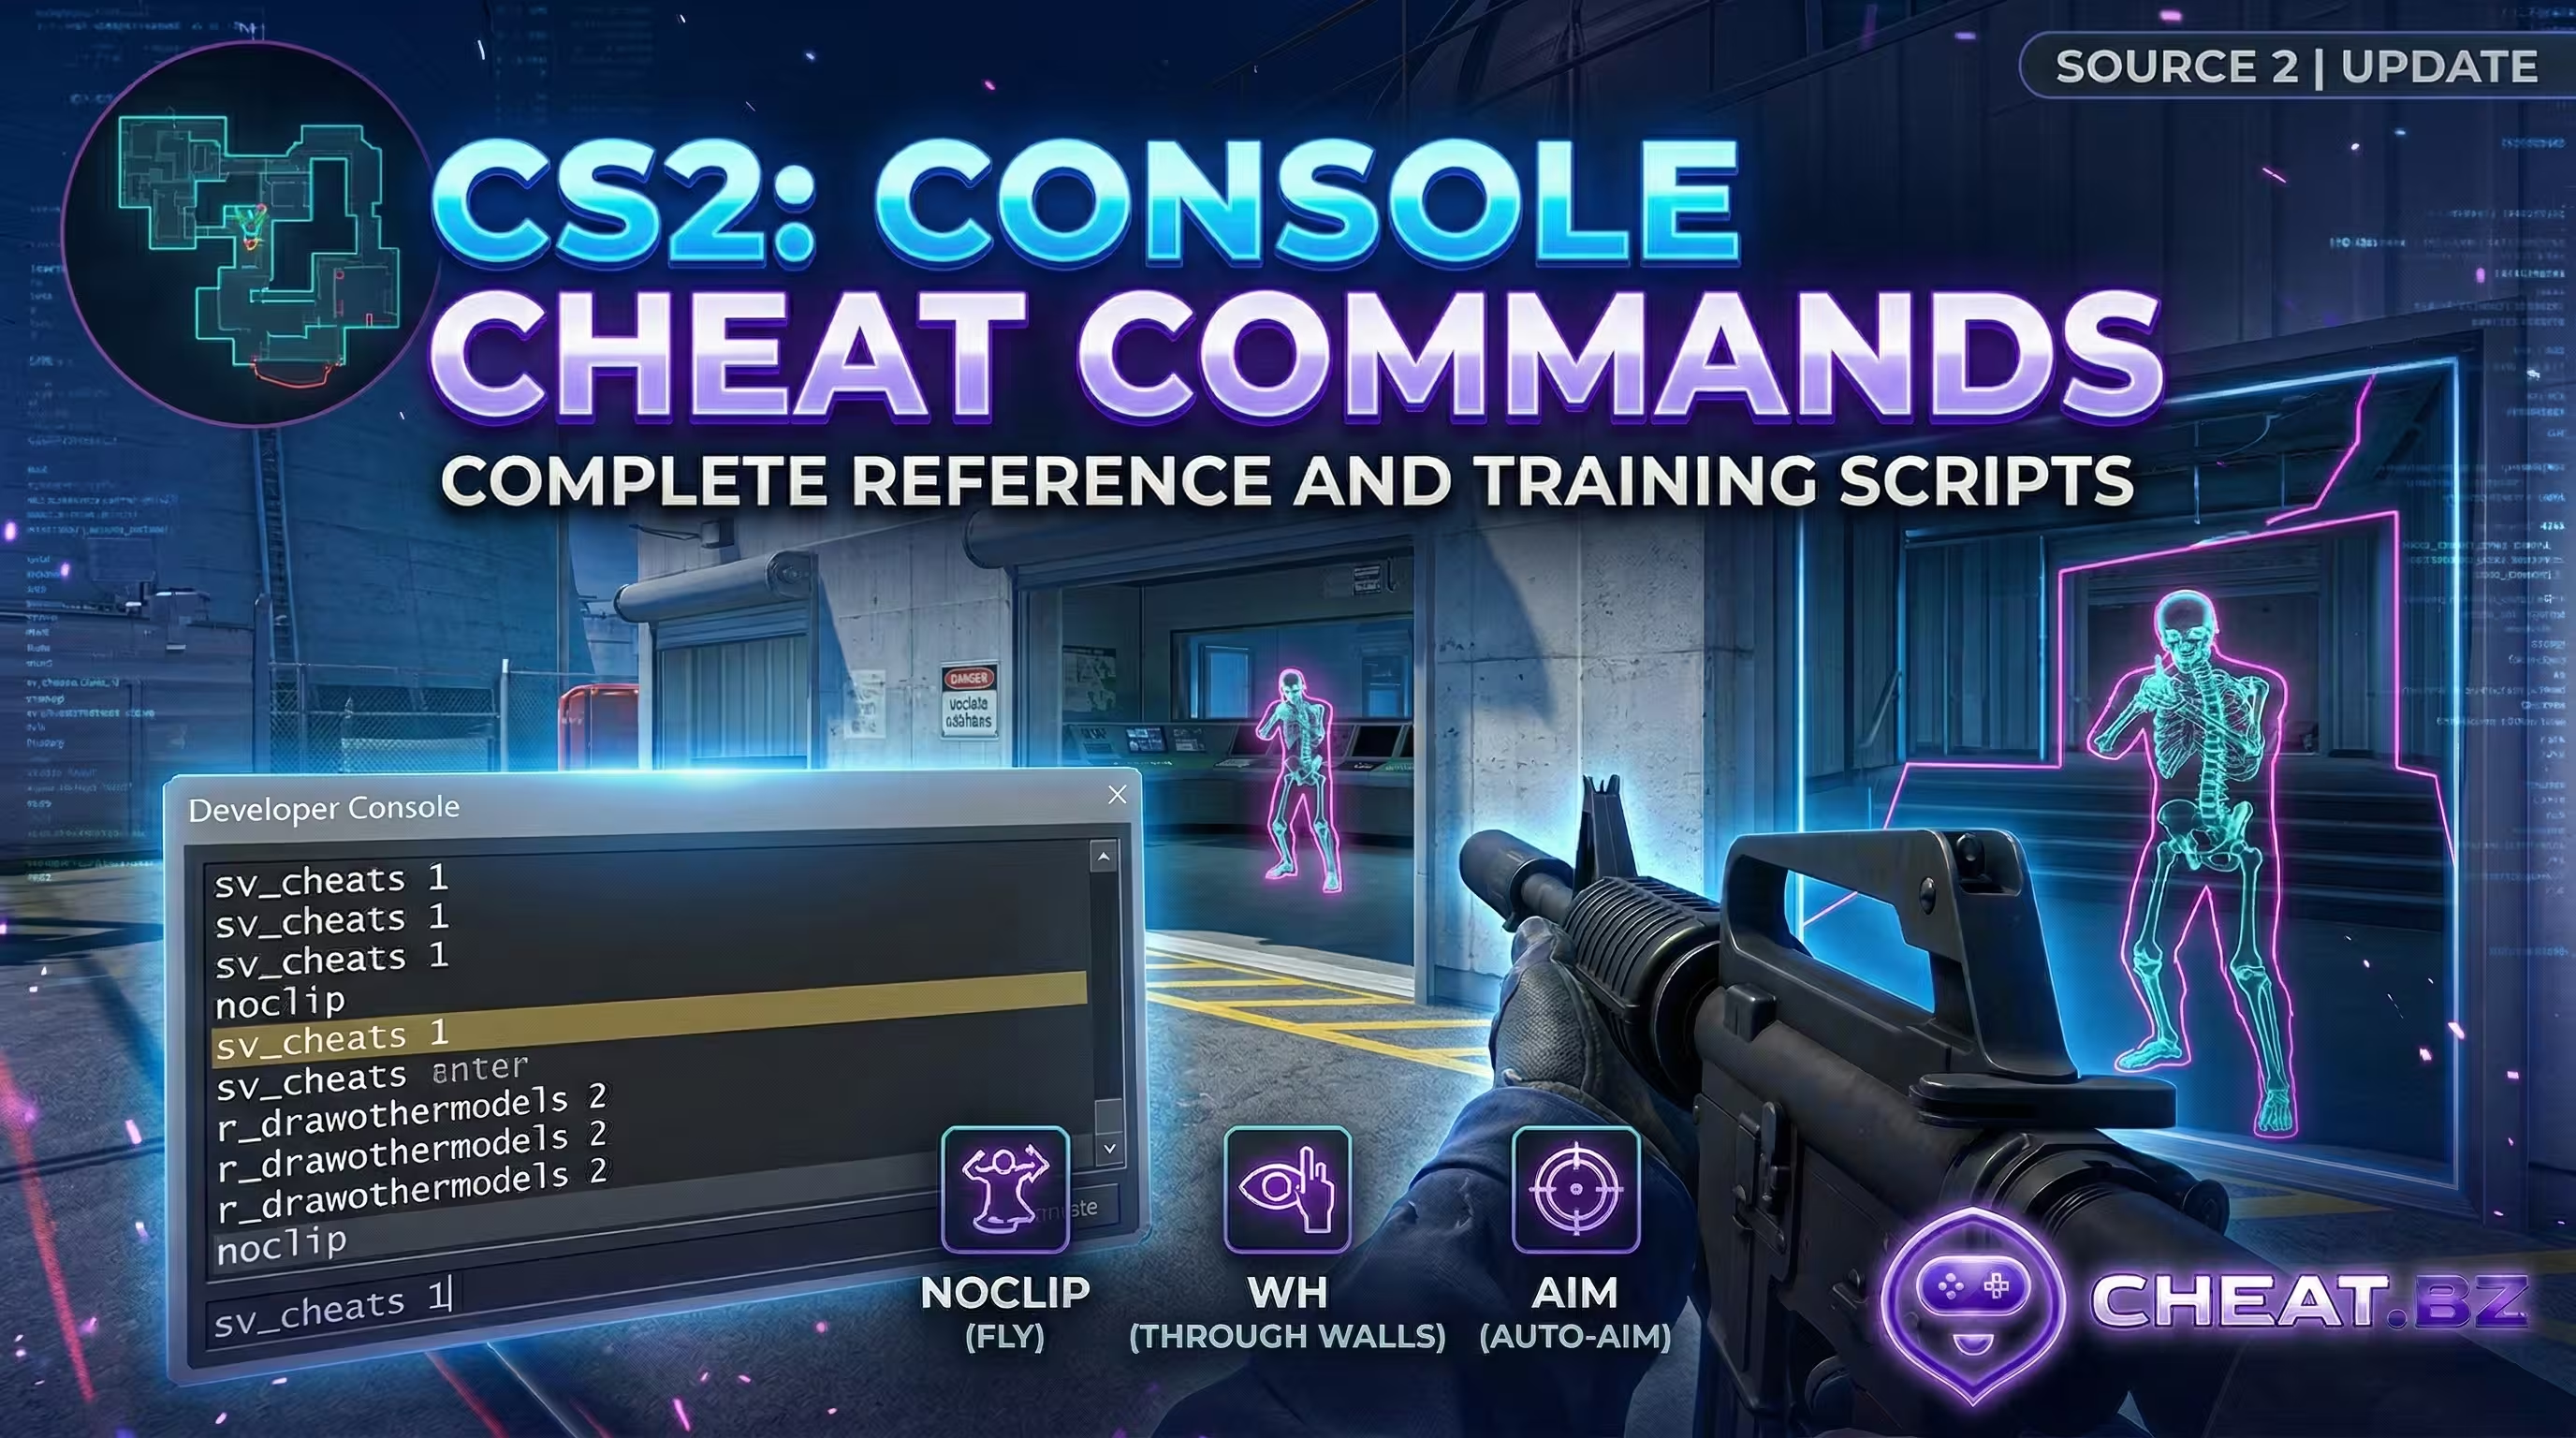
To enable legal built-in Wallhack in CS2 via the console on a practice server, enable cheat mode using sv_cheats 1 and execute cl_ent_skeleton * paired with the near-plane camera fix r_nearz 15.
- Core Command: The
cl_ent_skeleton *cvar replaces the legacyr_drawothermodels 2command and renders player bone structures through walls. - Camera Fix: Running
r_nearz 15removes your own skull bones from obstructing your first-person crosshair. - Scope of Use: Console Wallhack works exclusively in bot practice matches, local lobbies, and custom servers where you have host privileges.
- Screen Cleanup: The
ent_clear_debug_overlayscommand instantly wipes all lingering skeletons, boxes, and debug lines from the map. - VAC Safety: Using built-in developer console commands with
sv_cheats 1on a local server is 100% safe and will never trigger an account ban.
Read on for a step-by-step setup walkthrough, alternative hitbox visualization modes, and ready-to-use toggle bind configs.
Quick Answer: Working CS2 Wallhack Command String
To immediately reveal player skeletons through obstacles on your own server, run this three-command string in the console:
sv_cheats 1; cl_ent_skeleton *; r_nearz 15The first command enables cheat cvars on the server, the second renders wireframe skeletons for all players and bots, and the third shifts the camera near-plane forward so your own character model doesn't block your aim. This is the fastest legitimate way to enable wallhack in Counter-Strike.
| Action | Console Command | Execution Result | Requires sv_cheats |
|---|---|---|---|
| 1. Enable Cheats | sv_cheats 1 |
Unlocks host debug and cheat cvars | Yes (Host) |
| 2. Enable Wallhack | cl_ent_skeleton * |
Renders green and orange skeletons through walls | Yes |
| 3. Camera Fix | r_nearz 15 |
Clips your own skull model out of the crosshair | No |
| 4. Full Reset | ent_clear_debug_overlays |
Wipes all active skeletons, boxes, and debug lines from the screen | Yes |
Why r_drawothermodels 2 Doesn't Work in Counter-Strike 2
In CS:GO, almost every guide recommended the r_drawothermodels 2 command. On the older Source 1 engine, this cvar forced character models to render in a wireframe mode visible through geometry and map textures.
CS2 transitioned the entire rendering pipeline to Source 2, completely removing the legacy draw system from the engine codebase. Entering r_drawothermodels 2 in CS2 is either ignored by the engine or throws an "unknown command" error. Reverting to r_drawothermodels 1 also does nothing.
Technical Note: Valve removed the legacy Source 1 shader pass entirely. In CS2, the only native debugging system left is the
cl_ent_*entity pipeline, designed to inspect server-side collisions and skeletal animations.
Step-by-Step Guide: Enabling Wallhack on a Local Server
To ensure these commands execute properly, follow this exact sequence. Attempting to run them from the main menu or on a protected server will trigger an access error.
Step 1. Enable the Developer Console in CS2 Settings
Before entering any commands, make sure the developer console is enabled in your game client:
- Launch CS2 and click the gear icon in the top-left corner to open Settings.
- Navigate to the Game tab and locate the Game settings section.
- Find "Enable Developer Console (~)" and switch it from "No" to "Yes".
- Press the "~" key (tilde) to test opening the console window.
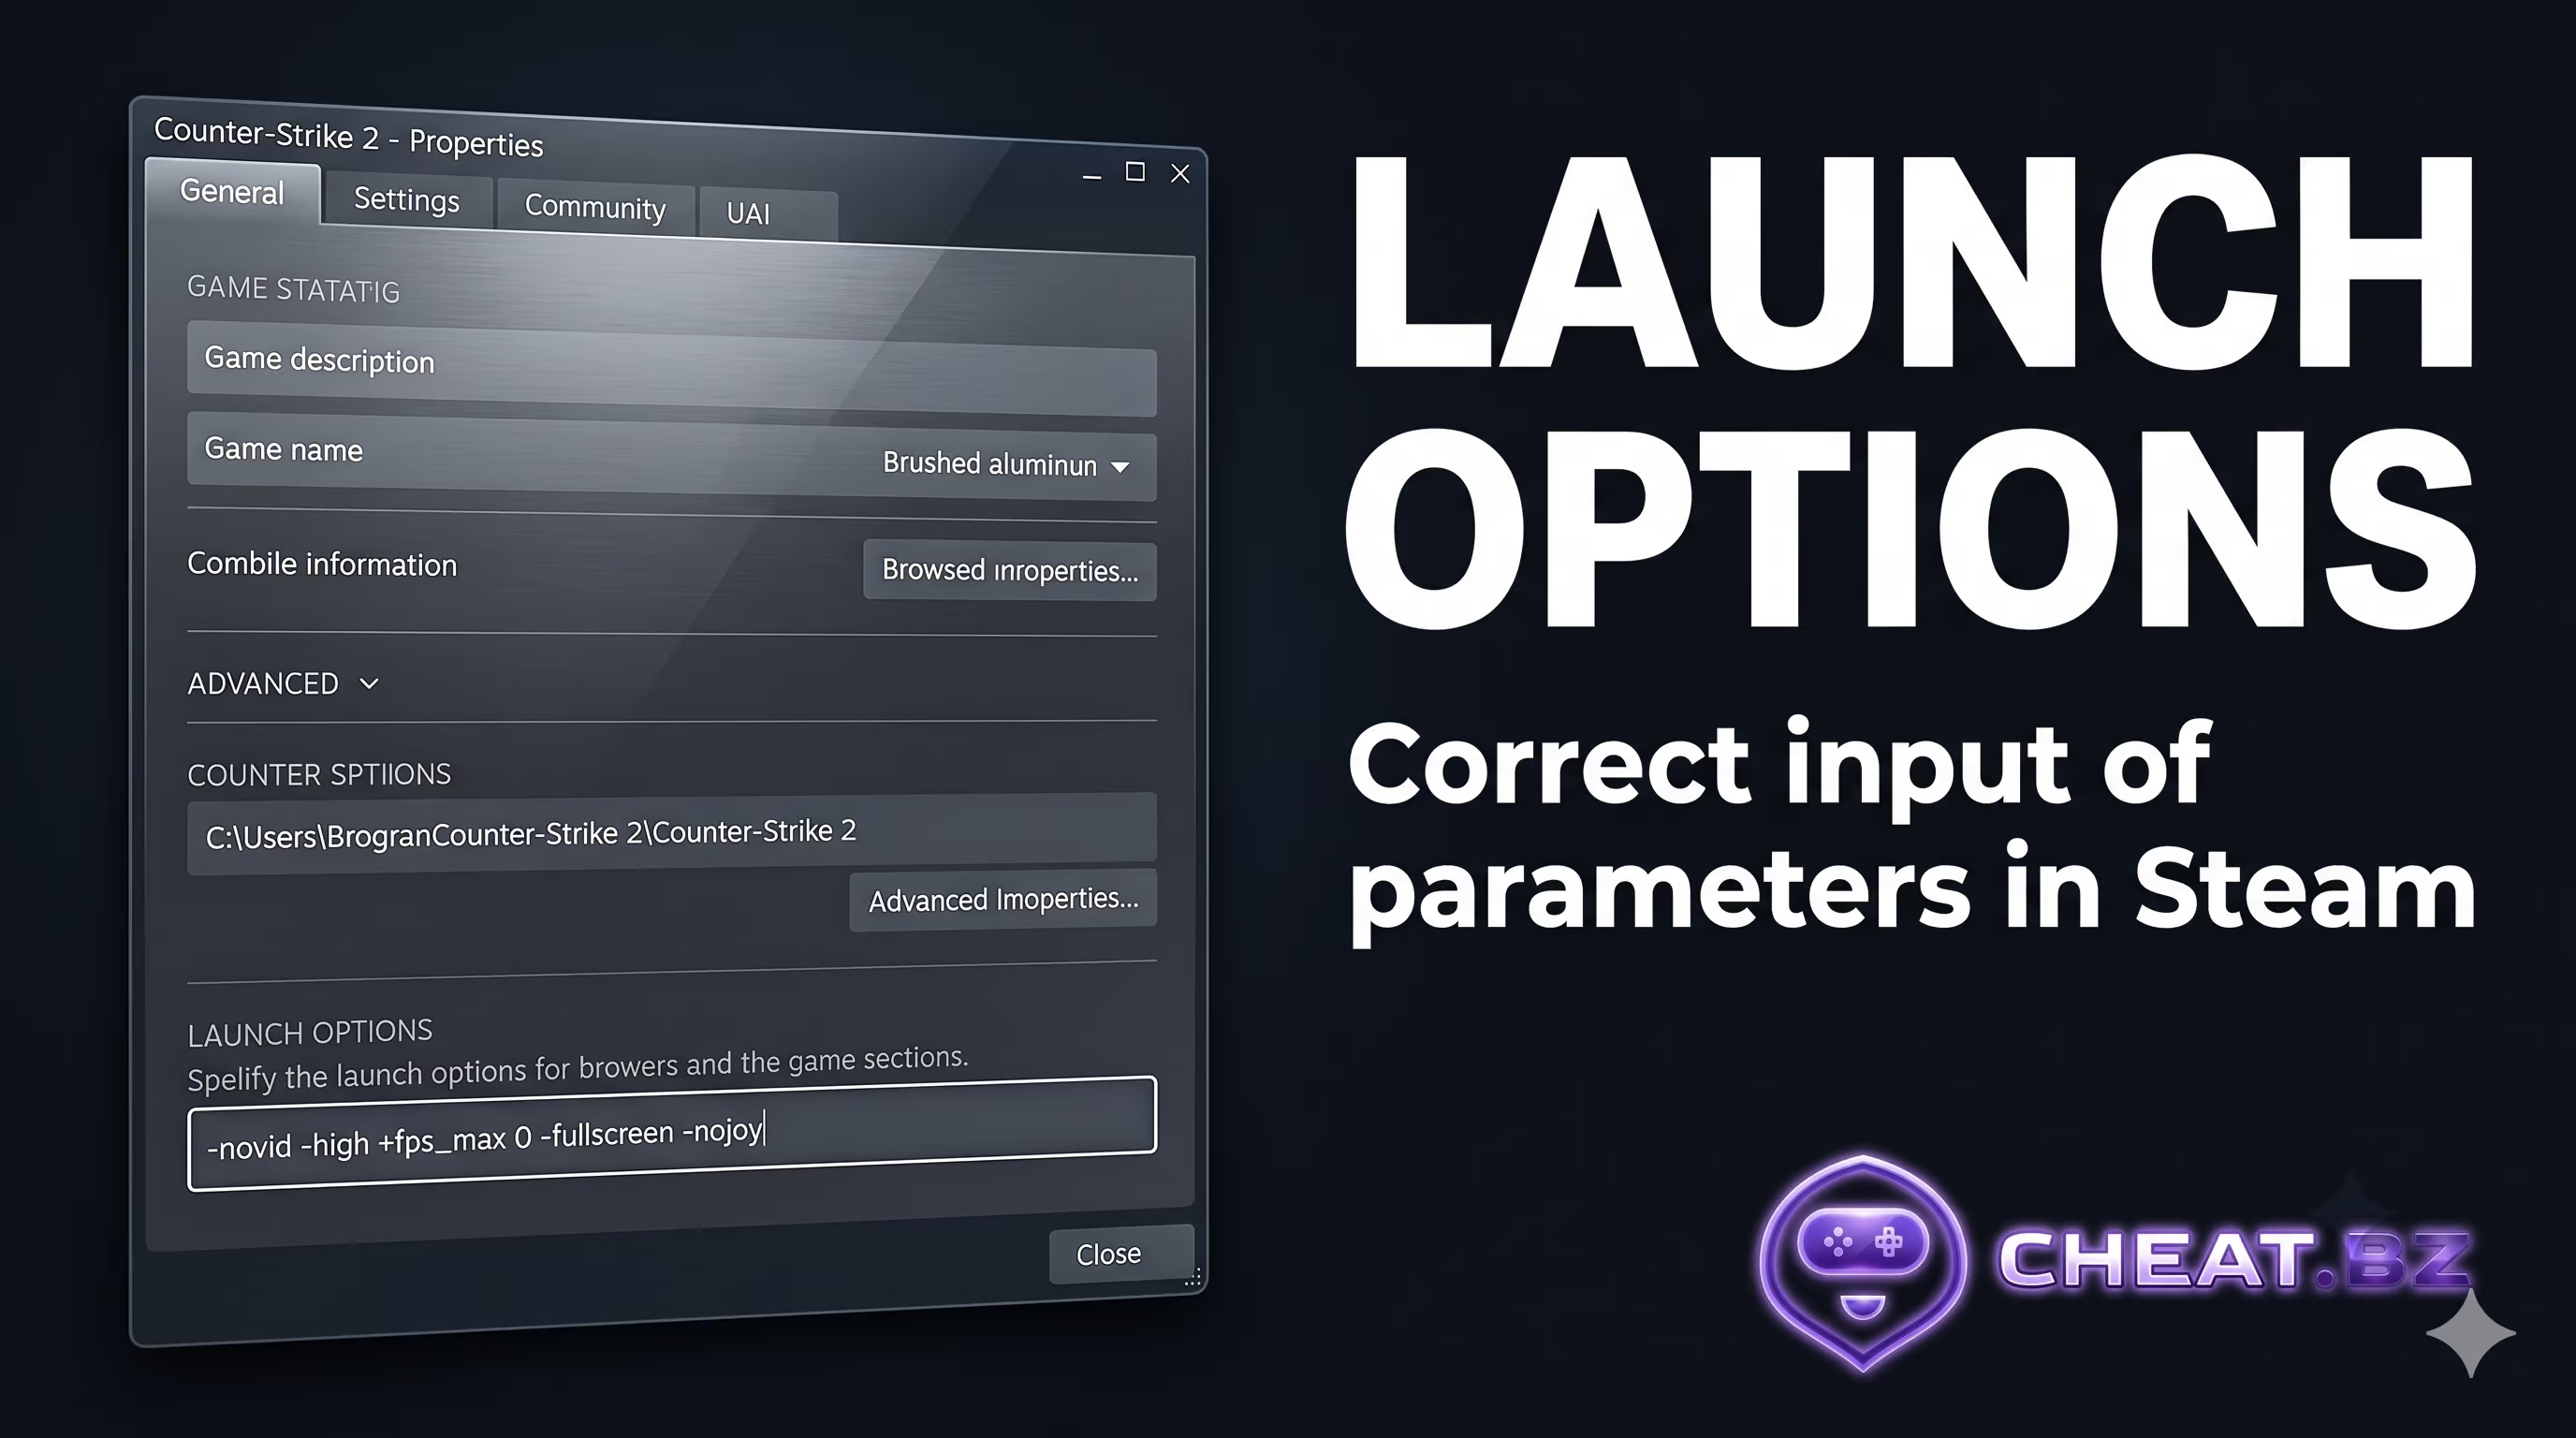
If the console doesn't appear, check your keybinding under Keyboard / Mouse -> UI Keys, or add the -console launch option in your Steam game properties. For an in-depth breakdown of essential startup parameters, check out our guide on CS2 launch options for FPS.

Step 2. Launch a Practice Map and Enable Host Privileges
Console Wallhack cannot run in matchmaking, so you need to create a local offline session:
- In the main menu, click Play and select Practice.
- Pick any competitive map (Mirage, Inferno, Nuke, Dust II, Anubis) and toggle your preferred practice settings (Infinite Ammo, Grenade Camera).
- Once loaded into the map, open the console with "~", type
sv_cheats 1(orsv_cheats true), and press Enter.
If you want to practice online with friends on CS2 servers with wallhack enabled, look for Community Servers with pre-installed visual plugins. Server admins can enable ESP outlines for all connected players without requiring local host configuration.
Step 3. Activate Skeleton Wallhack
With cheat permissions enabled, type cl_ent_skeleton *. The asterisk wildcard instructs the engine to render skeletal wireframes for all players and bots across the map. Immediately follow this with r_nearz 15 to push the camera near-clipping plane forward and clear your field of view.
All CS2 Console WH Modes: Skeletons, Hitboxes, Boxes, and AO-Proxy
The Source 2 engine includes an extensive suite of debug overlays. You can mix and match them based on what you are practicing—whether checking pre-aim angles, wallbang penetration, or sub-tick hit registration.

| Console Command | Overlay Display | Visible Through Walls | Visible in Smoke | Practical Use Case |
|---|---|---|---|---|
cl_ent_skeleton * |
Skeletal rig with joints | Yes | Yes | Pre-fires, tracking stance and enemy timing |
cl_ent_absbox |
3D axis-aligned bounding box | Yes | Yes | Gauging model dimensions behind crates and cover |
cl_ent_bbox * |
Blue and yellow collision bounding box | No (at close range) | Yes | Practicing spam shots through smoke edges |
cl_ent_hitbox |
Hitbox capsules | No | Yes | Verifying bullet registration and Sub-tick mechanics |
toggle r_aoproxy_show 0 1 |
Yellow ambient occlusion silhouette | Yes | Yes | Clean silhouette tracking through solid geometry |
cl_ent_name / cl_ent_text |
Text plaque showing entity ID above head | Yes | Yes | Finding a bot's entity ID for targeted highlighting |
How to Enable Wallhack on a Single Bot (by Entity Index)
When 10 bots occupy a server, rendering full-map ESP creates visual clutter and can drop framerates on lower-end GPUs. The engine lets you isolate debug overlays onto a single entity:
- Open the console and run
ent_find player. - Scan the output log for your target bot's line, formatted as
'player' : '' (entindex 12), where the number represents the entity index. - Execute the debug command with that specific index:
cl_ent_skeleton 12(orcl_ent_absbox 12).
The skeletal rig will only appear on that chosen target, making it ideal for isolated aim duels. We broke down how to set up custom training duels in our guide on how to play 1v1 in CS2 with a friend.
Bug Fixes: Removing the First-Person Head Glitch (r_nearz)
The most common issue when running cl_ent_skeleton * is a cluster of wireframe bones appearing directly in the center of your screen, completely blocking your crosshair.
The reason is straightforward: the wildcard argument * forces the engine to draw skeletons for every single loaded model, including your own character. Because the first-person camera sits inside your player model's head, your own skull bones render directly in your field of view.
You can resolve this by adjusting the near clipping plane using r_nearz 15 (or r_nearz 30 / 50 if needed). This command pushes the minimum render distance forward from the camera lens. As a result, your own head geometry is clipped out of the frame while enemy skeletons at range remain fully visible.
Convenient Binds to Toggle Wallhack On and Off
Opening the console repeatedly mid-round is impractical—binding your debug overlays to hotkeys is much more efficient. Because cl_ent_skeleton relies on the * wildcard to highlight all entities, a standard 0-to-1 toggle command won't work. The most reliable solution is configuring an alias toggle switch.
Here are pre-configured binds for instant visual control:
- X Key: Toggles all player skeletons with the
r_nearz 15camera offset. - Z Key: Toggles yellow AO-Proxy silhouettes on and off.
- C Key: Emergency screen purge to clear all stuck debug lines, boxes, and markers.

alias "wh_toggle" "wh_on"
alias "wh_on" "cl_ent_skeleton *; r_nearz 15; alias wh_toggle wh_off"
alias "wh_off" "ent_clear_debug_overlays; alias wh_toggle wh_on"
bind "x" "wh_toggle"

bind "z" "toggle r_aoproxy_show 0 1"
bind "c" "ent_clear_debug_overlays"
The ent_clear_debug_overlays command (along with its supported alias cl_ent_clear_debug_overlays) is essential: when turning debug modes off, graphic markers and wireframes often freeze in place. Pressing your bound key instantly purges this visual clutter. For a complete list of useful debugging cvars, explore our article on CS2 cheat commands.
Legal X-Ray for Demo Playback and Spectator Mode
If you want to review mistakes, analyze enemy positioning in a past match, or record a frag movie without practicing wallbangs, cheat cvars are completely unnecessary. The CSTV (formerly GOTV) spectator system features a built-in, official X-Ray that outlines players in their respective team colors.
To enable X-Ray in a match recording, follow these steps:
- Open the console and load your demo using
playdemo DEMO_FILENAME. - Press Shift + F2 to open the demoui playback controls and timeline.
- Type
spec_show_xray 1into the console (set to 0 to disable). - In standard spectator controls, toggling player outlines is also mapped to the X key by default.

The spec_show_xray cvar is a 100% native spectator feature, requires no sv_cheats permissions, and works across all replay types, including Premier Mode and Competitive matchmaking.
VAC Anti-Cheat & Competitive Modes: Risks and Restrictions
A common myth among newer players is that entering certain console commands can grant an unfair advantage in official matches without risk of a ban. Understanding how Source 2 handles client permissions clarifies why this is impossible.
All visual debug commands (cl_ent_skeleton, cl_ent_absbox, r_aoproxy_show) are strictly protected by the server-side FCVAR_CHEAT flag. On official Valve servers (Premier, Competitive, Wingman), the engine simply rejects these commands. The network vulnerabilities from the 2023 limited test were patched long ago.
Account Safety: You cannot receive a game ban or VAC ban for entering commands into the in-game console. The console is an official feature of the game client. Penalties occur only when injecting external DLLs or running third-party software that writes directly to CS2 process memory. Those memory injections are quickly flagged by VACnet and can lead to a permanent Steam account ban.
Conclusion
Built-in developer commands in Counter-Strike 2 offer a great way to map out wallbang angles, understand line-of-sight exposure, and practice pre-aiming on an empty map. The command string sv_cheats 1, cl_ent_skeleton *, and r_nearz 15 provides a reliable, completely legal training baseline on Source 2. Map these commands to custom keybinds to quickly test angles and setups in your local lobbies. If you are looking for full-featured visual assistance beyond local practice sessions, check out verified private CS2 cheats.