

Everything About the Red Keycard in Rust: Complete Guide
The Red Keycard in Rust unlocks rooms packed with the game's highest-tier loot: Elite Crates, Heavy Plate Armor, explosives, and Tier 3 weapon blueprints. Managing its durability is critical: you only get 2 swipes (losing 50% durability with every door opened), and it cannot be crafted or repaired at a workbench. You won't find it in standard wooden or military crates either—it only spawns behind blue puzzle doors at mid-tier monuments or sells directly for scrap. In this guide, the team at cheat.bz private software store breaks down the fastest monument routes to secure a red card, how to wire every fuse switch, and what changed across puzzle rooms following recent Facepunch updates.
Quick Overview: Red Keycard Stats and Limits
The Red Keycard (console shortname keycard_red, ID -1880870149) is a scarce, high-value item. Keep the baseline rules in mind so you don't accidentally burn its durability on an empty door.
Red Keycard Technical Specifications
| Parameter | In-Game Value | Player Impact |
|---|---|---|
| Console Shortname | keycard_red (ID: -1880870149) |
Used for keybinds, configuring loot filters, and sorting storage containers |
| Durability Pool | 2 swipes (100 HP, minus 50 HP per unlock) | Strictly enough for two doors; swiping an already open door instantly burns the card |
| Crafting and Repair | Cannot be crafted or repaired | Lost durability is permanent—bringing it to a workbench or repair bench is useless |
| Ground Despawn Timer | 3600 seconds (exactly 1 hour) | If you die at a monument, a dropped keycard will safely sit on the ground for a full hour |
| Bandit Camp Purchase | Purchasable for 80 Scrap | Sold directly for scrap at the "Scrap 4 Sale" vending machine |
Monument Selector: Best Runs for Your Group Size
Avoid charging blindly into the first monument you spot. Tailor your route to your team's gear and squad size so you don't lose your blue card in an early skirmish. If you're running solo against geared squads and need full monument control without getting ambushed by campers, run reliable Rust private cheats with precise player and loot ESP.
Scenario 1: Solo Player with a Revolver, Waterpipe, or Bow
Ideal choice: Water Treatment Plant. Requires 1 Blue Keycard and 1 Electric Fuse. There are zero scientist NPCs, radiation is minimal (a basic burlap or leather kit is plenty), and you have an easy rooftop escape route if you get pinched.
Scenario 2: Duo or Trio with Solid Firearms (Thompson / SAR)
Ideal choice: Train Yard or Airfield. At Train Yard, switches are spread across separate buildings while scientists patrol the tracks. At Airfield, you'll need to clear underground tunnel bots, bring a flashlight, and burn two fuses, but the loot yield is noticeably higher.
Scenario 3: Early Wipe Without Any Fuses
Ideal choice: Arctic Research Base. The lab module opens directly with a Blue Keycard—no fuse boxes or switches required. Just bundle up against the freezing cold and bring enough ammo to take down Arctic Scientists.
Access Hierarchy: Step-by-Step Keycard Progression and Fuse Mechanics
Rust relies on a strict progression tier ladder: getting your hands on a Red Keycard requires either completing sequential puzzle tiers or buying one directly from vendors.
- Green Keycard (Tier 1): Spawns on desks at Oxum's Gas Station, Supermarket, Lighthouse, and Junkyard. You can also loot them off road Scientists with an approximate 24% drop rate. Green cards also sell at the "Scrap 4 Sale" vending machine in Bandit Camp for 15 scrap. Each card has 4 uses.
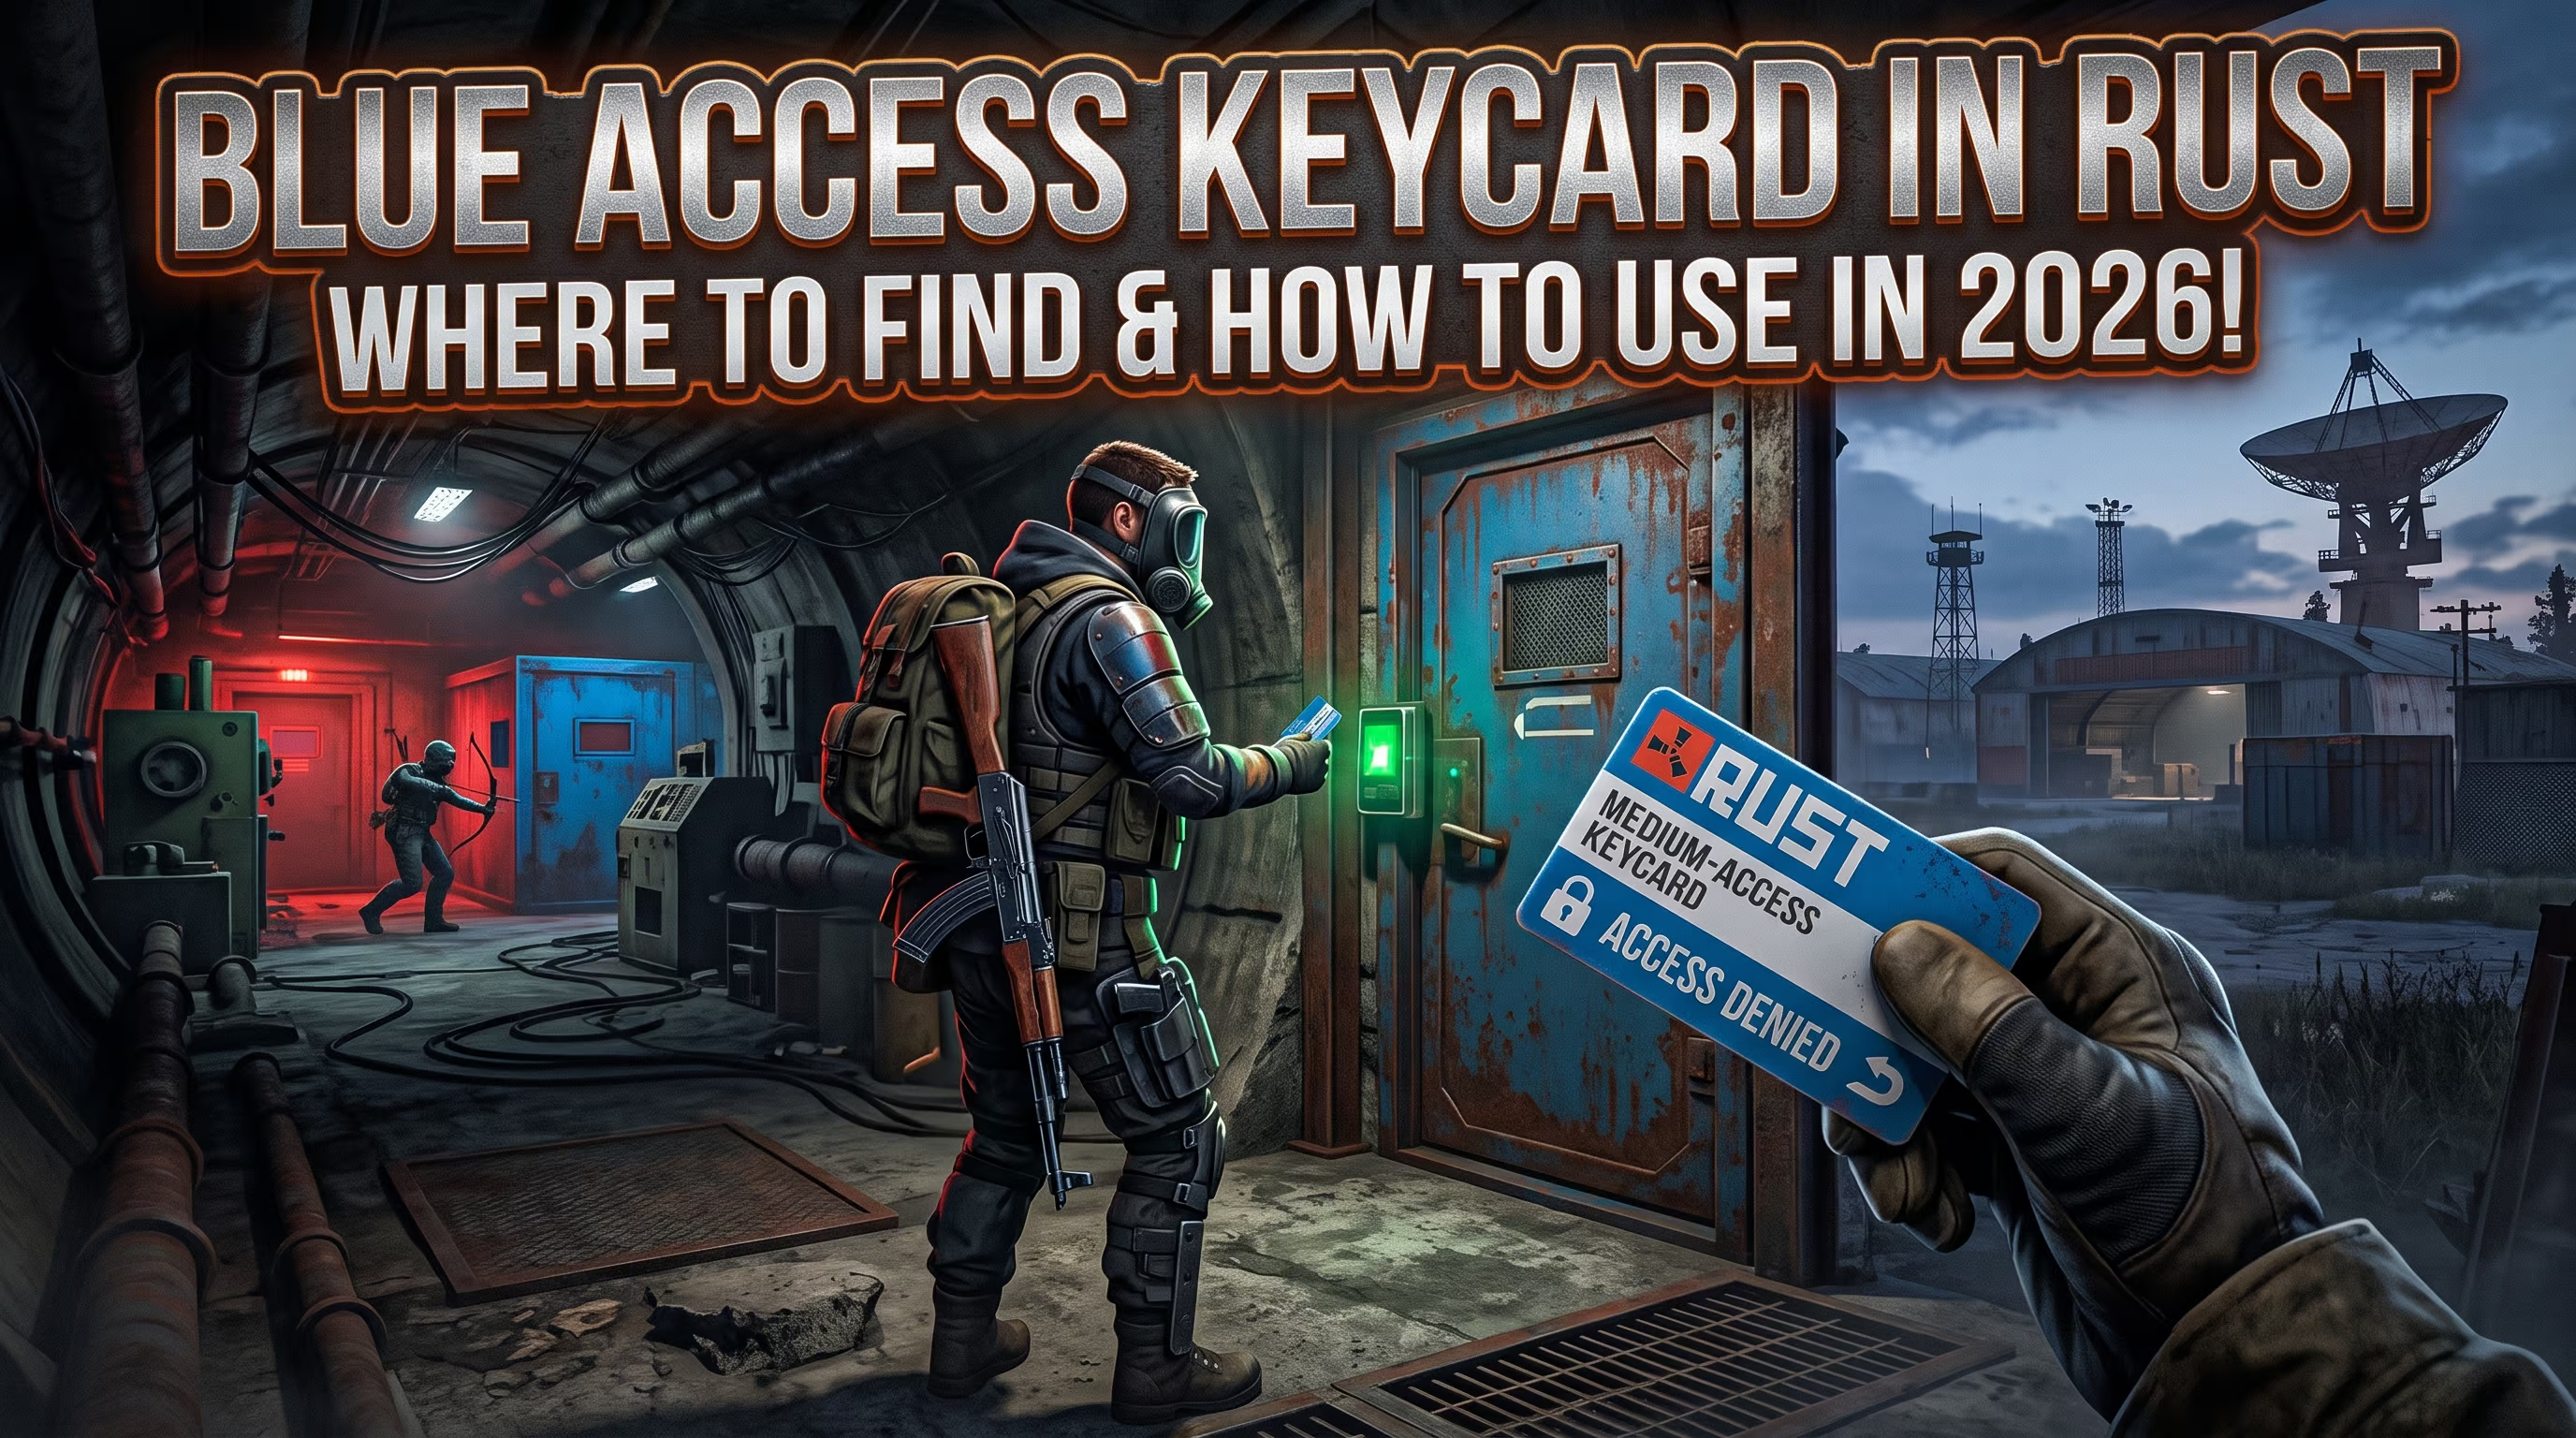
- Solving the Green Room: Harbor, Sewer Branch, or Satellite Dish. Burn a Green Keycard and 1 Electric Fuse to grab a Blue Keycard. Note: Purchasing blue cards at Outpost for 100 scrap was completely removed in the Pivot or Die update. Today, getting a Blue Keycard in Rust requires running green puzzles or pulling one as rare ocean fishing loot.
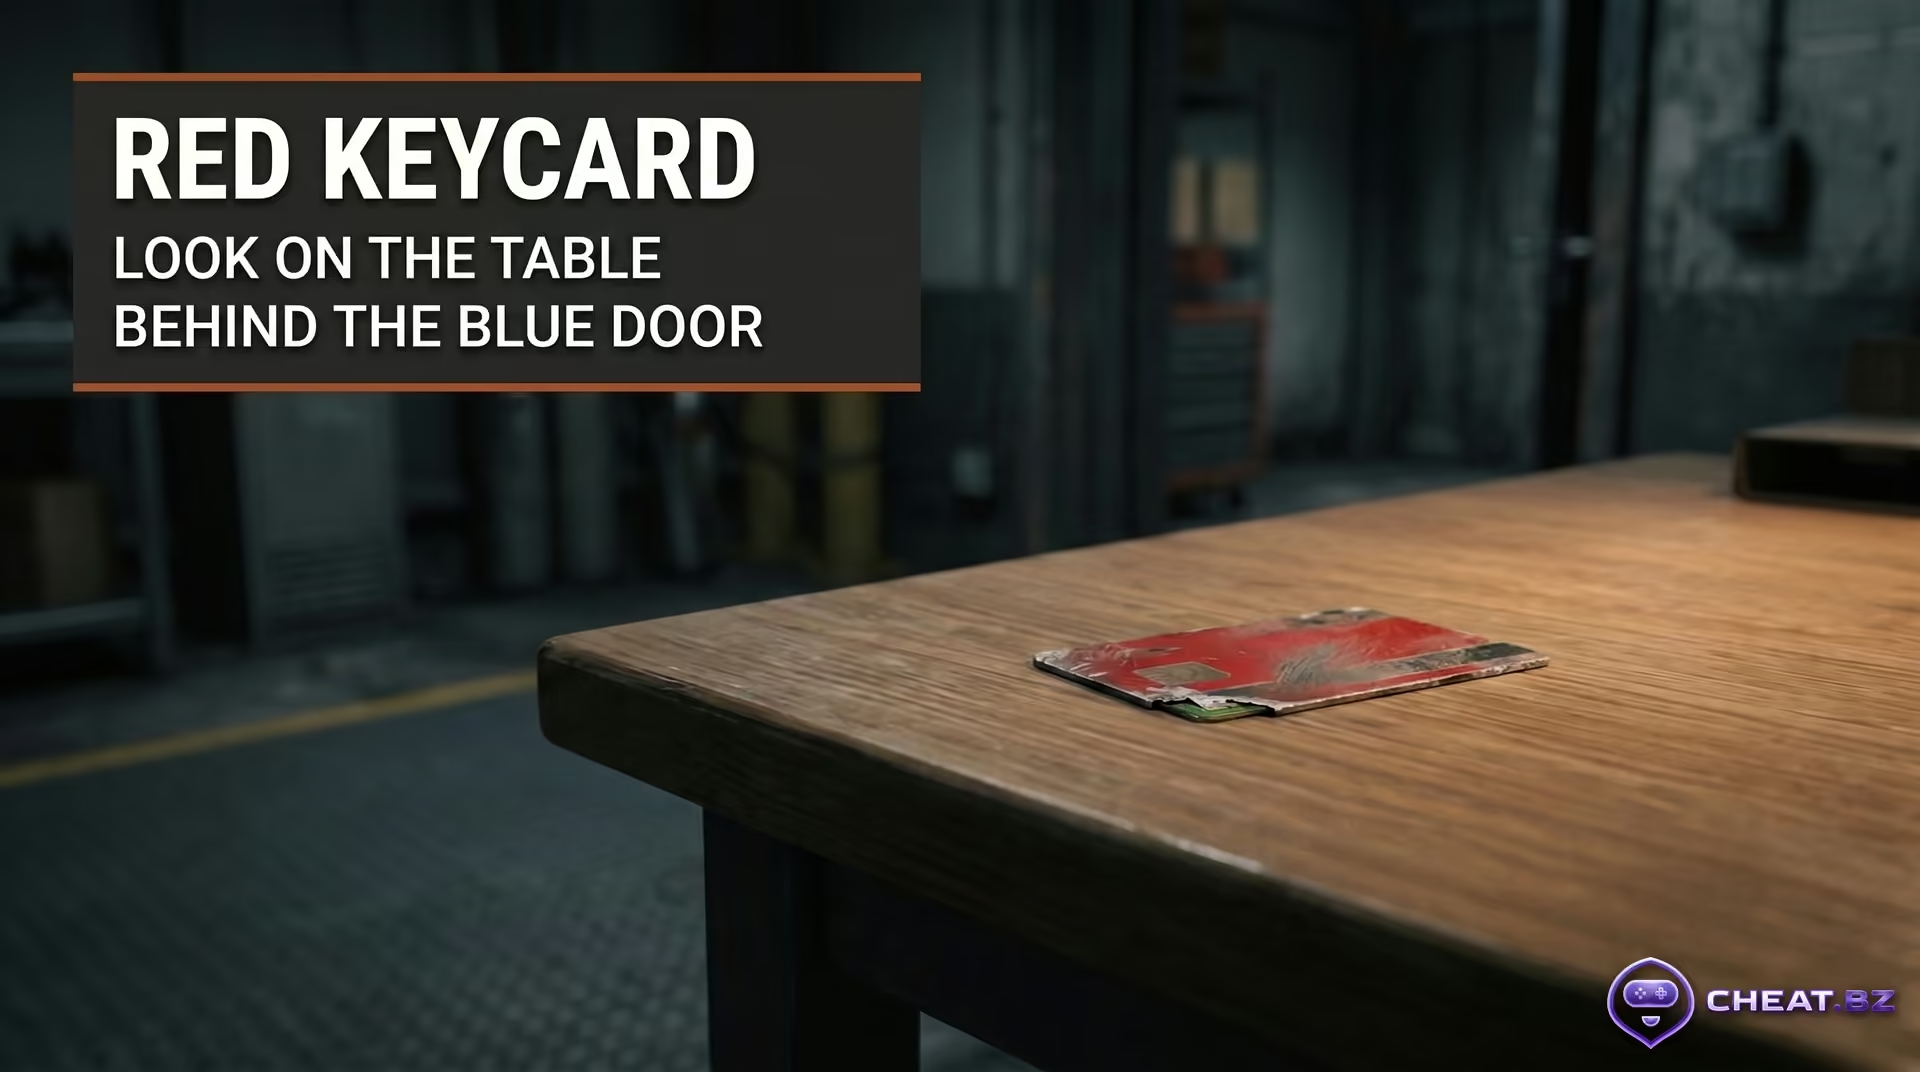
- Solving the Blue Room (Tier 2): Water Treatment Plant, Train Yard, Airfield, Power Plant, or Arctic Research Base. Swipe your Blue Keycard, insert fuses (0 to 2 depending on the monument), and loot the Red Keycard from the desk with a 100% guaranteed spawn rate.
Where to Find a Red Keycard: 5 Donor Monuments
If you need to know where to find red keycards in Rust through gameplay without spending scrap, head to any of the five donor monuments below. The table outlines everything you need to pack before heading out.
Red Keycard Donor Monument Requirements
| Monument | Required Keycards | Fuses | Radiation | Guards (NPCs) |
|---|---|---|---|---|
| Water Treatment Plant | 1× Blue | 1x | Low (basic clothing works) | No Scientists |
| Train Yard | 1× Blue | 1x | Medium (requires solid armor set) | Scientist patrols |
| Airfield | 1× Green, 1× Blue | 2x | Medium (requires solid armor set) | Tunnel Scientists |
| Power Plant | 1× Green, 1× Blue | 1–2x (bring a spare) | High (requires Hazmat Suit) | No Scientists |
| Arctic Research Base | 1× Blue | 0x | Extreme Cold (requires warm jacket) | Arctic Scientist garrison |
Water Treatment Plant — The Go-To Solo Route with Zero NPCs
Water Treatment is the cleanest, lowest-risk option for solo players looking to loot a Red Keycard in Rust without trading shots with bots. Here is the optimal step-by-step route:
- Head down to the brick pump station building with the large roll-up garage door.
- Turn the handwheel to the right of the door all the way and duck under the lifting door.
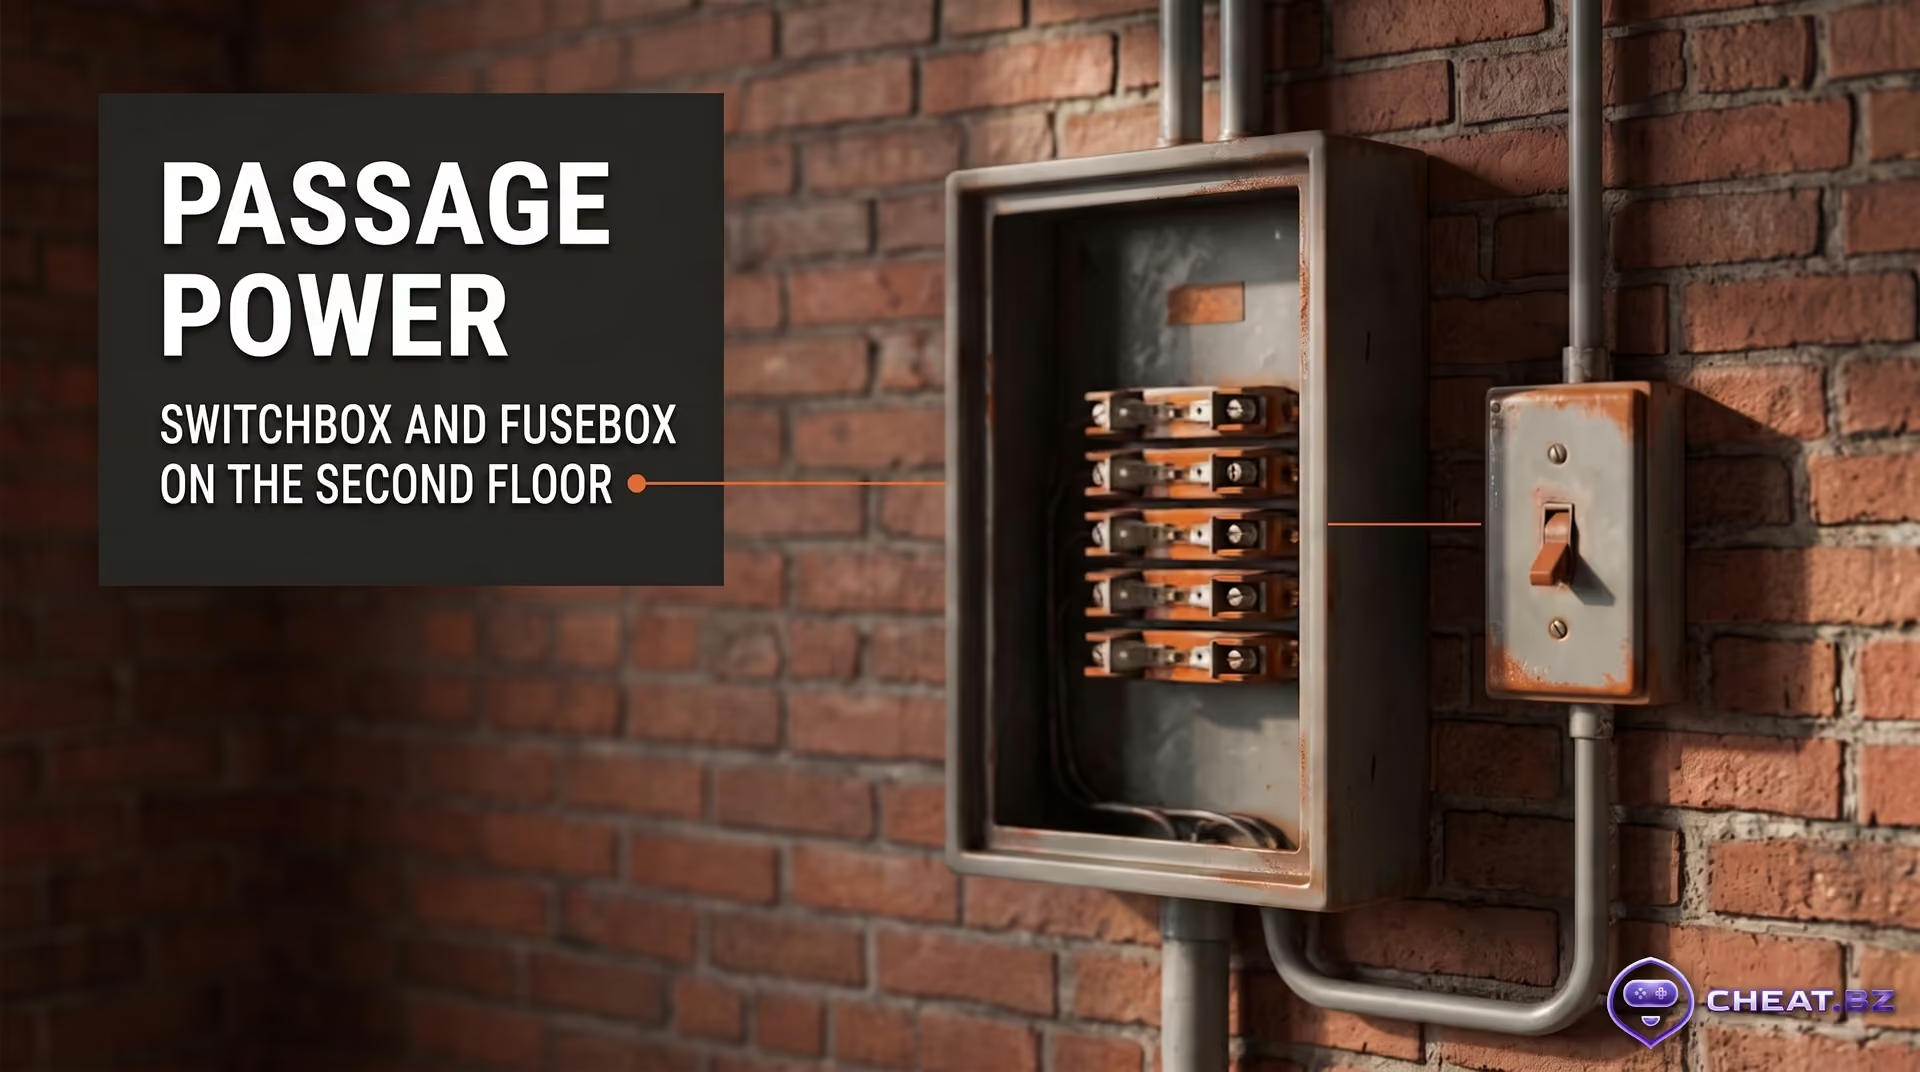
- Head up to the second floor, insert 1 Electric Fuse into the wall box, and flip the switch to start the power timer.
- Jump out the window and sprint across the yard toward the two-story slanted-roof building near the storage tanks.
- Take the exterior fire escape stairs to the second floor and swipe your Blue Keycard at the reader showing a green light.
- Pick up the Red Keycard from the desk, loot the crates, and press the green wall button by the doorway to exit.
Train Yard — Two-Stage Switch Sequence
Train Yard separates its switches across opposite ends of the yard while Scientist patrols roam the tracks. Clear the bots first to secure your Red Keycard without taking unnecessary damage:
- Locate the three-story brick building next to the tracks. Head inside on the first floor and flip the wall switch (no fuse needed here).
- Sprint across the tracks and climb to the top of the tall tower with the fuel tank. Flip the second switch.
- Climb down and head toward the main central brick facility.
- Head up to the second floor: in the corner room, insert 1 Electric Fuse into the distribution box and flip the timer lever.
- Dash up the stairwells to the fourth floor toward the blue door (the reader light will turn green).
- Swipe your Blue Keycard, grab the Red Keycard off the desk, and loot the military crates.
Airfield — Underground Bunker Puzzle with Dual Fuses
The Airfield puzzle is tucked underground. The subterranean tunnels are pitch black, making a weapon flashlight or Night Vision Goggles mandatory:
- Enter the two-story office building across from the hangars. In the back room on the first floor, insert your first fuse and flip the switch.
- Run onto the runway and drop into the underground complex through the ladder hatch between the hangars (or take the sloped ramp near the tower). Turn on your light.
- Locate the door with the green card reader, swipe your Green Keycard, and head into the tunnel.
- Inside the corridor, locate the second fuse box, insert the second fuse, and flip the switch to power the blue sector.
- Continue down the hall to the blue door, swipe your Blue Keycard, and loot the Red Keycard from the desk. There is no emergency exit here: listen closely for footsteps before pushing back out.
Power Plant — Switch Synchronization and Tight Timers
Power Plant has high radiation levels and strict switch timers. Here is where you can snag a Red Keycard once you memorize the building layout:
- Find the three-story building on the southeast side of the yard. Flip the first switch tucked under the ground-floor stairs.
- Sprint across to the small brick pump station housing the oil refinery. Flip the two wall switches and hit the timer.
- Immediately run to the large turbine hall building and swipe your Green Keycard at the entrance door.
- Inside the turbine hall behind the machinery, flip the wall switch on the rear side of the unit.
- Head up to the second floor, insert your fuse into the box beside the blue door, swipe your Blue Keycard, and take the Red Keycard from the desk. Keep a second fuse handy in case you miss a timer.
Arctic Research Base — Direct Blue Container Access with Zero Fuses
Arctic Research Base eliminates the hassle of wiring switches. It is the only place to get a Red Keycard in Rust using nothing more than a Blue Keycard in your inventory:
- Equip a warm jacket or hoodie: freezing temperatures will rapidly chew through your health pool.
- Carefully eliminate the Arctic Scientists (they spawn armed with LR-300 rifles and custom SMGs).
- Move toward the red dual-module research units situated in the base center.
- Locate the blue door on the research module. The card reader is permanently powered—no fuses required.
- Swipe your Blue Keycard (burning the standard 25% durability) and grab the Red Keycard resting directly on the storage boxes.
Breach and Clear Update (2026): Monument Blocker Mechanics
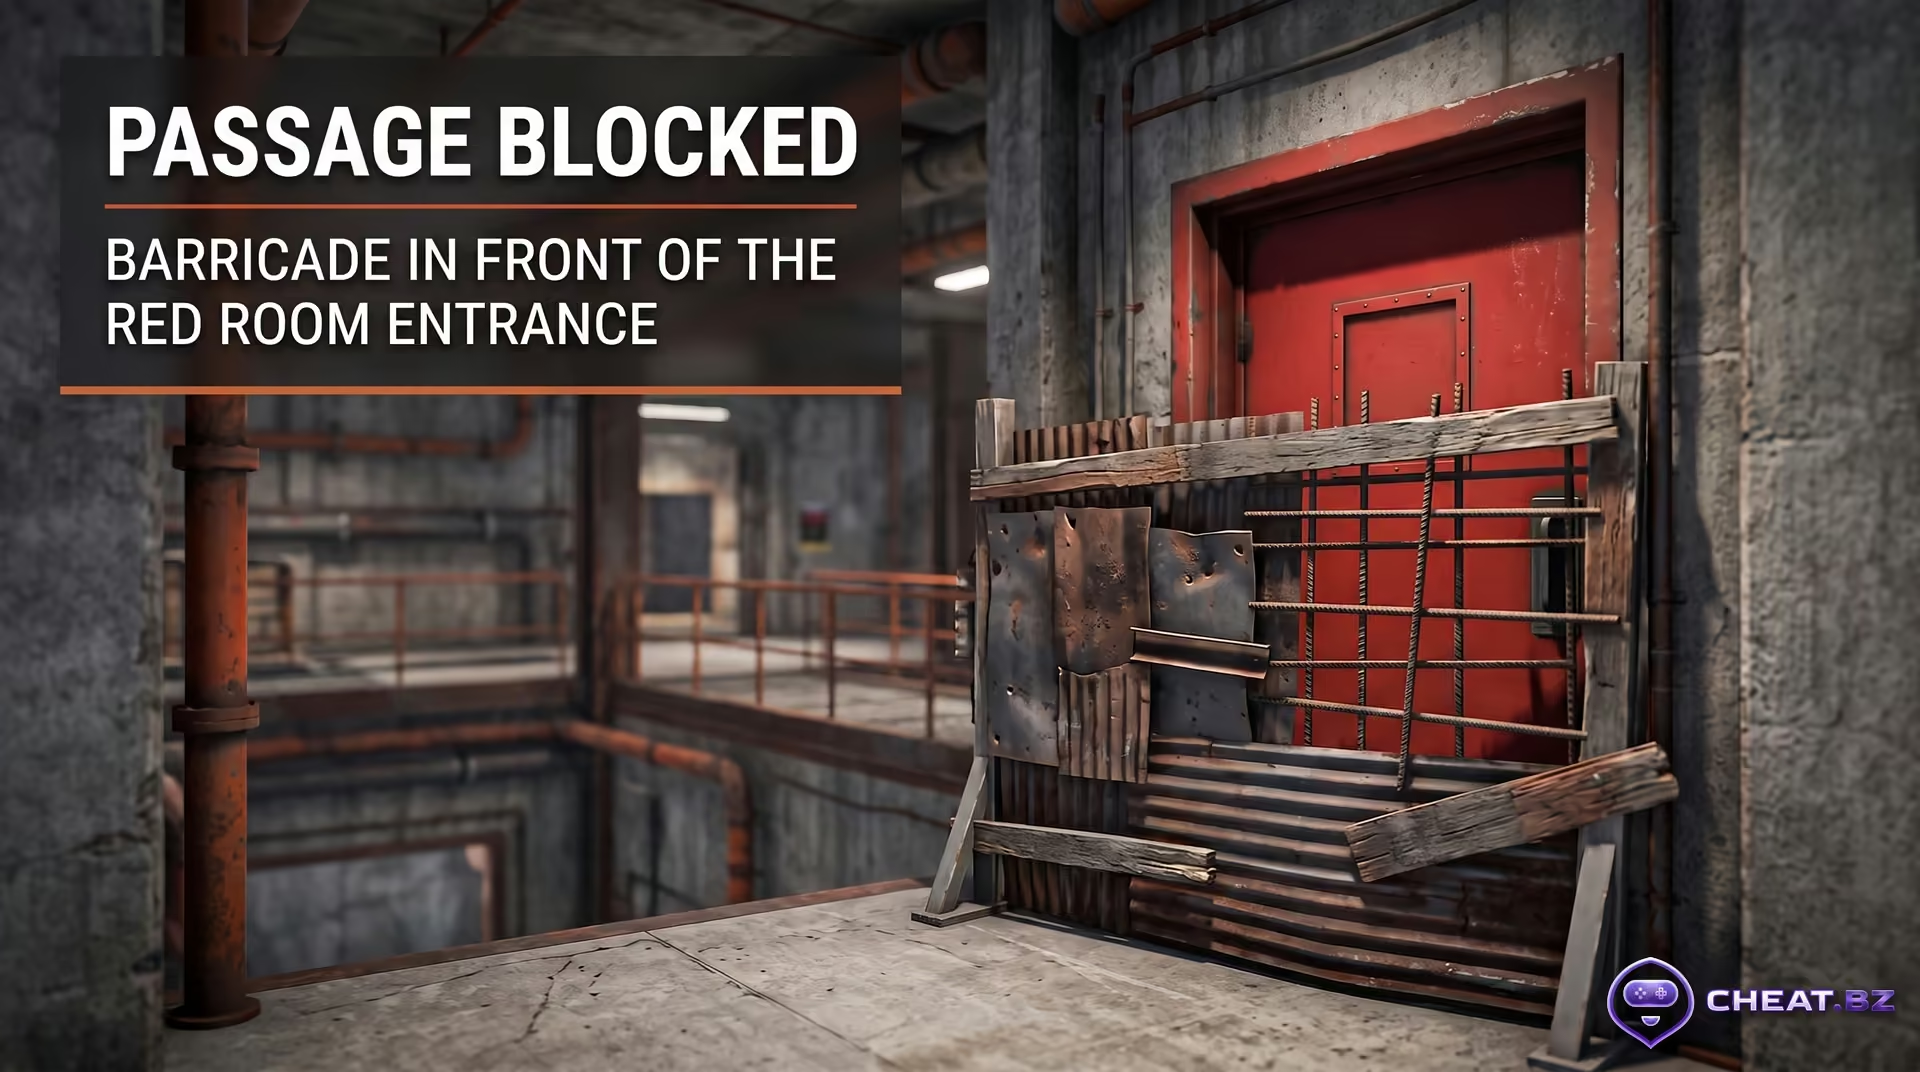
Facepunch's official Breach and Clear update (released September 3, 2026) eliminated the ability to speedrun high-tier monument loot within the first hours of wipe. Monument pathways leading to red rooms are now sealed off by Monument Blockers—welded barricades and reinforced steel grates.
Methods to Breach Monument Blockers in Rust 2026
| Breaching Method | Estimated Cost | Clear Time | Tactical Scenario |
|---|---|---|---|
| Timed Explosive (C4) | 1x Timed Explosive Charge | ~10–15 seconds (C4 fuse timer) | Large clans on fresh wipe day |
| Satchel Charges | ~4–5 Satchels | Variable (subject to dud fuses) | Coordinated small groups and trios |
| Natural Decay | Free (0 Sulfur) | Starts decaying 24 hours post-wipe | Solos and casual groups |
| Entering via a Third-Party Breach | Free (0 Sulfur) | Immediately after another group detonates | Ambushing and counter-taking monument control |
Key blocker mechanics: Blockers do not vanish instantly after 24 hours; they only begin the decay process once 24 hours have passed from the wipe start. Once a blocker is blown open, it never respawns until the next map wipe. By day two of a wipe cycle, major clans have typically opened most paths. To time your runs effectively, check our complete breakdown on Rust wipe schedules detailing server reset cycles.
Where to Use a Red Keycard: Endgame Monuments and Top Loot
Knowing where to use a Red Keycard in Rust is only half the battle—surviving the extraction is what counts. Red rooms house Elite Crates, Heavy Plate Armor, rare blueprints, and hackable crates dropping L96 sniper rifles. Below is a breakdown of every endgame monument so you can choose where to swipe your card based on your team's gear.
Red Keycard Monuments: Costs, Hazards, and Key Loot
| Monument | Required Items | Radiation | Primary Loot |
|---|---|---|---|
| Launch Site | 1× Green, 1× Red, 2× Fuses | Extreme (Hazmat + Water Jugs + Syringes) | 3 Elite Crates on the roof, Military Crates |
| Military Tunnels | 1× Green, 1× Blue, 1× Red, 1× Fuse | Medium (solid armor set is sufficient) | Elite Crates in the train car and secret laboratory |
| Nuclear Missile Silo | 1× Red (surface button, 0 fuses) | Medium (standard Hazmat Suit is sufficient) | 4 Elite Crates, Tier 3 blueprint components |
| Large Oil Rig | 1× Red (reader is powered, 0 fuses) | 0 Rads (open ocean) | Elite Crate + Locked Chinook Crate |
| Small Oil Rig | 1× Blue, 1× Red (0 fuses) | 0 Rads (open ocean) | Elite Crate + Blue Room loot |
| Underwater Labs | Green/Blue/Red + Fuses (seed dependent) | 0 Rads (requires submarine / diving gear) | High-tier components, HQM crates |
Launch Site — Main Complex, Rooftop Access, and Radiation Thresholds
Launch Site is the most punishing overland monument in Rust, making red keycard activation exceptionally dangerous. You'll have to navigate the patrolling Bradley APC, lethal radiation, and Scientist guards:
- Health and weapon prep: Radiation levels inside the main facility are brutal. While a Hazmat Suit grants 50% radiation protection, it will not completely insulate you—radiation bleeds through and rapidly drains your HP. Bring 2 full jugs of clean water (chugging water aggressively flushes radiation poisoning), 15–20 Medical Syringes, and anti-radiation pills. Armed scientists patrol the interior, so pack a reliable assault rifle. For loadout recommendations, check out our guide on the best weapons in Rust for high-tier raids.
- Powering the circuit: Enter the green security shed at D11 near the perimeter gate. Open it with a Green Keycard, insert your first fuse, and flip the power switch.
- Move to the utility structure at Bunker #2. Insert the second fuse into the panel and flip the switch.
- Sprint to the front facade of the main building. The card reader light will switch to solid green. Swipe your Red Keycard (consuming 50% durability).
- Enter the building, clear the scientists, and scale the staircases and structural rafters to the roof. Loot the 3 Elite Crates next to the downed helicopter.
- Safe extraction: Always descend on foot via the interior stairwells. At the bottom, locate the Auxiliary Power room, flip the door unlock switch, and walk out. DO NOT JUMP OFF THE ROOF: you will either be shredded by Bradley APC cannon fire or your death bag will clip into unreachable pipe meshes.

Military Tunnels — Clearing the Elite Train Car and Laboratory
Military Tunnels pits you against scientists wielding Spas-12 shotguns and MP5s who hold tight angles and shoot with pinpoint accuracy. Clear corners carefully from behind cover:
- Equip heavy road sign or metal armor, grab an automatic rifle, and bring at least 250 rounds of ammo and 15 syringes.
- Head into the right-hand tunnel and turn right into the Armory. Eliminate the guards, insert 1 fuse into the box, and start the timer.
- Move toward the Cobalt rocket, slip through the fence gap, and run up the ramp to the green door.
- Open the green door and flip the lab power switch on the wall.
- Drop down to the train cars on the tracks: the open boxcar contains your first Elite Crates.
- Advance to the blue lab door, swipe your Blue Keycard, flip the interior wall switch, and swipe your Red Keycard at the reader. Clear the scientists inside the room and scoop up the high-tier loot. Exit through the right corridor by hitting the green wall button.
Nuclear Missile Silo — Deep Bunker Sector
In the Meta Shift update, Facepunch elevated the Missile Silo into a dedicated Red-tier monument. Here, the Red Keycard serves as your endgame access key:
- Press the surface button near the missile launch tower to open the heavy blast doors over the main shaft.
- Descend the spiral catwalks while eliminating NVG Scientists guarding each landing.
- Swipe your Red Keycard at the terminal to access the inner bunker facility (the primary circuit requires no fuses).
- Loot the 4 Elite Crates scattered across the lower floors and the missile control room, alongside high-tier component boxes. Note that Red Keycards do not spawn inside the Silo—you must bring one in.
Large & Small Oil Rig — Offshore Raids and the Chinook Event
Oil Rigs remain server favorites because they require zero fuses—card readers are wired with continuous power:
- On Small Oil Rig, you need both cards: swipe your Blue Keycard on the lower deck to access the room, then swipe your Red Keycard on Level 4. On Large Oil Rig, the top-deck red room on Level 6 opens directly with your Red Keycard.
- Swipe your card and loot the Elite Crates inside the secure control room.
- Trigger the Codelocked Crate hack: this begins a 15-minute countdown and alerts a Chinook CH-47 transport carrying Heavy Scientists. Take defensive positions along the stairwells and eliminate them as they funnel in.
Underwater Labs — Procedurally Generated Submerged Modules
Underwater Labs generate random module layouts with each map seed:
- Approach the moonpool hatch using a submarine or complete scuba gear.
- Pack an all-purpose keycard kit: Green, Blue, and Red cards plus 2 spare fuses, as the door sequence changes with every layout.
- Trace the overhead ceiling conduits: electrical wires run directly from fuse boxes to their corresponding card readers, making navigation through submerged compartments straightforward.
Security Protocols: Emergency Exits, Durability, and Counter-Camping
A single misstep inside a monument puzzle can erase hours of farming. Keep these survival protocols in mind whenever you handle keycards.
Protocol 1: What to Do if a Fuse Burns Out and Doors Slam Shut
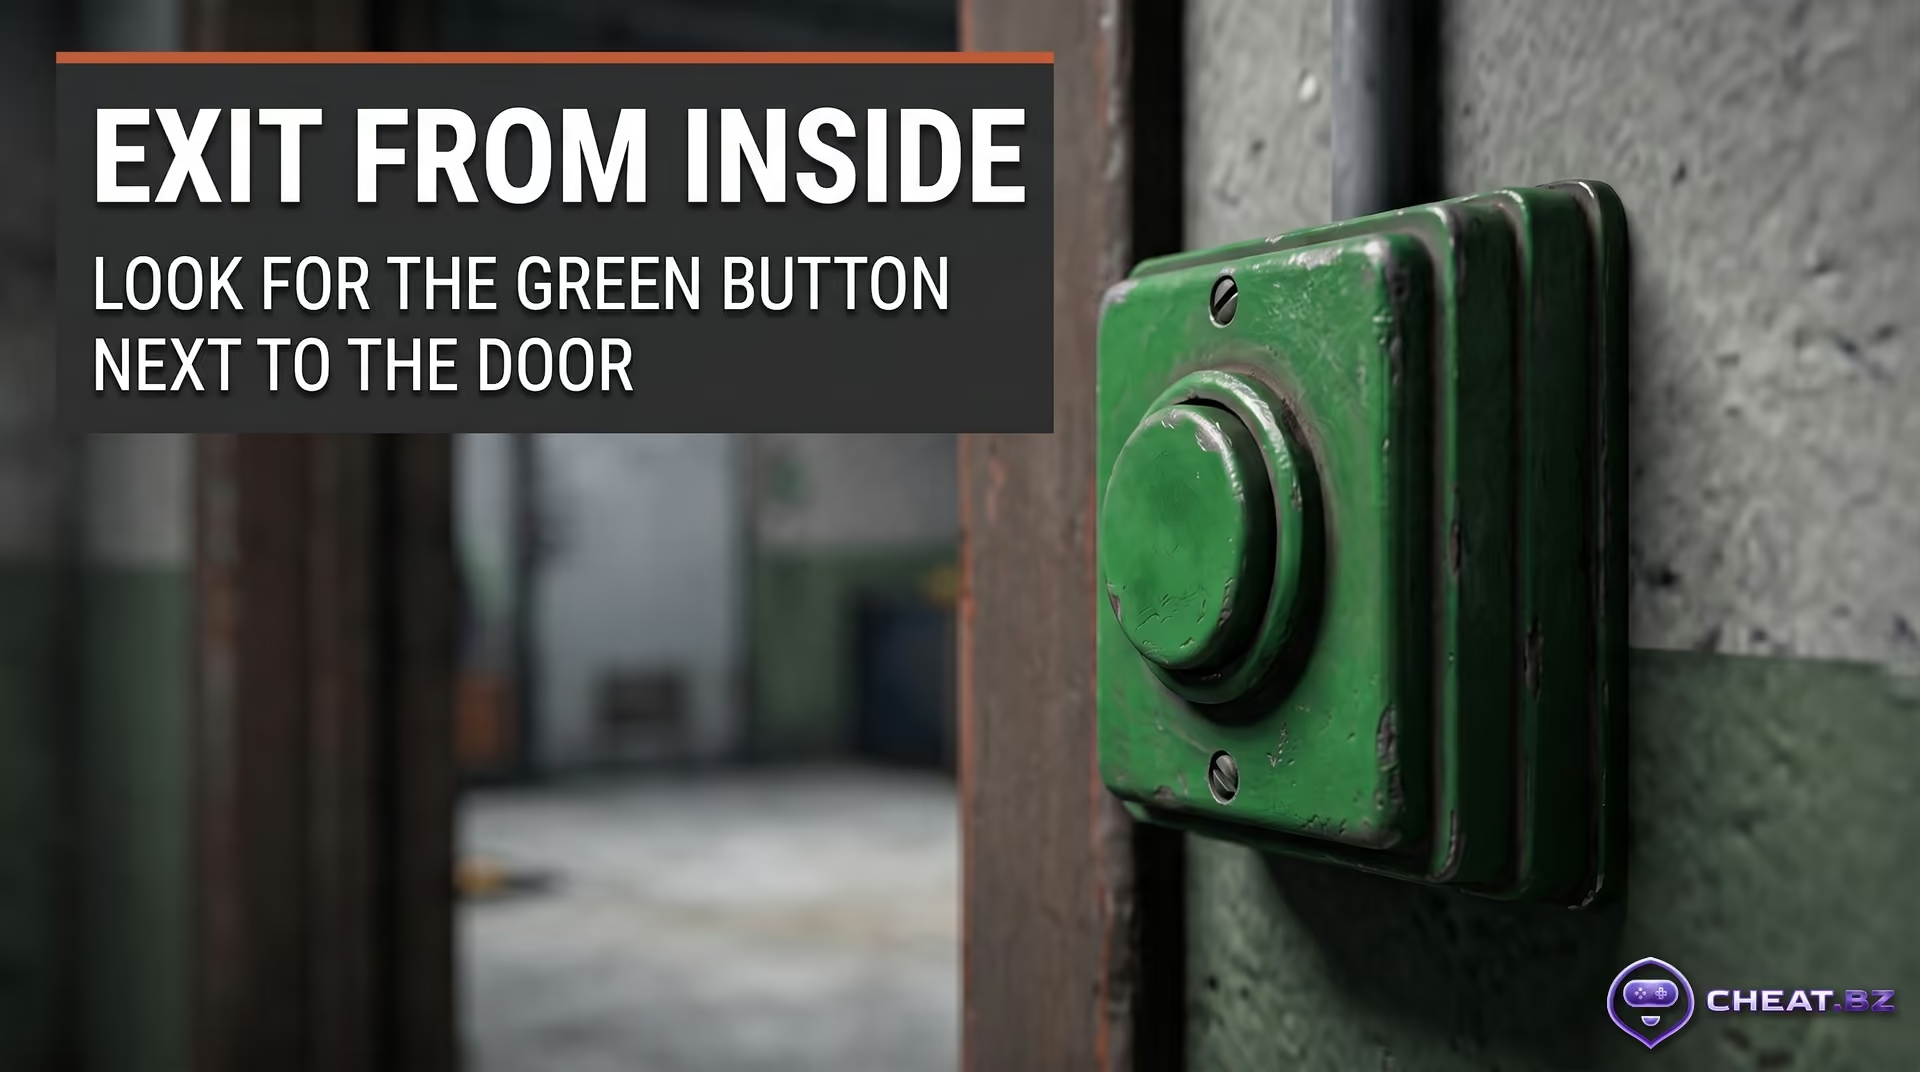
If the timer expires, the fuse burns out, and the blast door slams shut—don't panic, and never type kill in the console. Most monument puzzle rooms feature an emergency green push-button beside the doorframe inside. It operates on an isolated mechanical circuit without grid power: press it, and the electromagnetic lock releases for several seconds, giving you ample time to exit.
Protocol 2: Preventing Accidental Card Burn
- One entry, one swipe: Never double-swipe your card if a teammate is already opening the door or the lock has engaged. Each interaction deducts 50% durability. An accidental double swipe will instantly vaporize a fresh 100 HP card.
- Watch the reader LED: Only swipe when the reader LED displays a solid green light. While swiping an unpowered reader typically doesn't consume durability, server packet loss or tick desync can cause accidental deductions.
Protocol 3: Clearing Chokepoints Against Monument Campers
The exits at Airfield and Military Tunnels are notorious ambush spots for shotgun campers. Never rush straight out: crouch inside for 30–40 seconds to listen for footsteps, weapon swaps, and reloads. Use utility deliberately: throw Smoke Grenades to cut off sniper sightlines across open ground, and pitch Flashbangs around tight corners to blind campers before you push.
Protocol 4: Lethal Reset Radiation and Loot Depletion
Introduced in the Pivot or Die update, a lethal radiation wave sweeps puzzle rooms 10 minutes before an automatic puzzle reset, bypassing all armor protection. If your Geiger counter clicks uncontrollably as you approach a monument, pull back immediately—this radiation kills through any Hazmat Suit. If you reach a blue room and the Red Keycard isn't on the desk, another player looted it recently. You'll need to wait for a full reset (triggered when the monument area remains clear of players for roughly 5 minutes).
Conclusion
A Red Keycard in Rust is one of the highest-value investments in the game: executed properly, a single run pays for itself immediately with top-tier guns and high-grade armor. The key is memorizing switch timings, never double-swiping unlocked doors, and planning clean escape routes before you push inside. To master server mechanics, loot respawn timers, and competitive shooter tactics, explore the detailed gameplay breakdowns and guides in the cheat.bz knowledge base.